

This simple but effective necklace and earring set is based on a the chainmaille technique of the mobius knot. Jump rings are linked together to look like a knot or rosette.
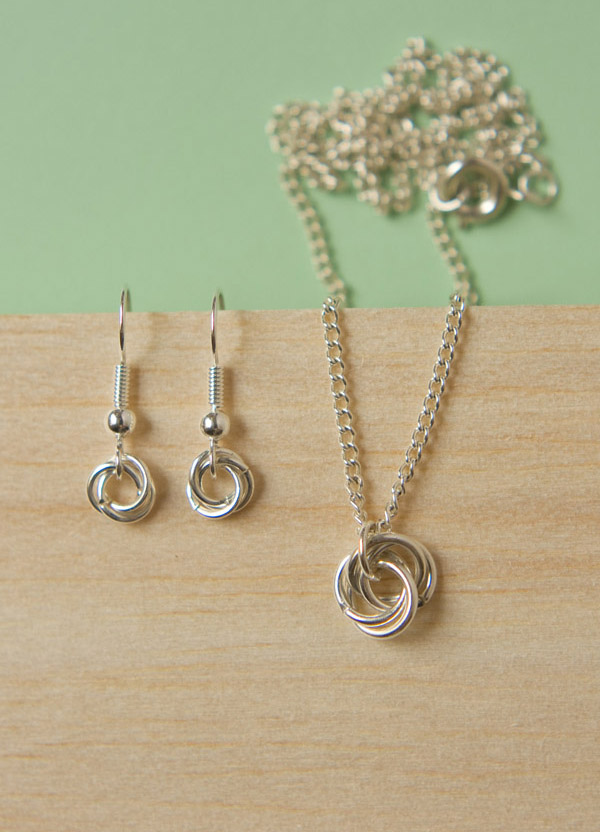
The mobius knot is a simple (if slightly fiddly) technique using jump rings connected together to make a knot or rose type design. Two points to mention 1. if you don’t know how to open and close jump rings pop on over to my tutorial to learn 2. Jump rings from different suppliers might not work in the same way, due to the terribly complex sounding ‘aspect ratio’. All this means is that jump rings can be made from different thicknesses, or gauges’ of wire, even if they are the same outer diameter. Its not a problem, you just may have to add another or take away a ring if the design isn’t sitting nicely.
The mobius ring is based on the mathematical Mobius Strip –“a one-sided surface that is constructed from a rectangle by holding one end fixed, rotating the opposite end through 180 degrees, and joining it to the first end” , or for the non-mathematical of us, its a bit like when a magician links solid rings together!
You will need:
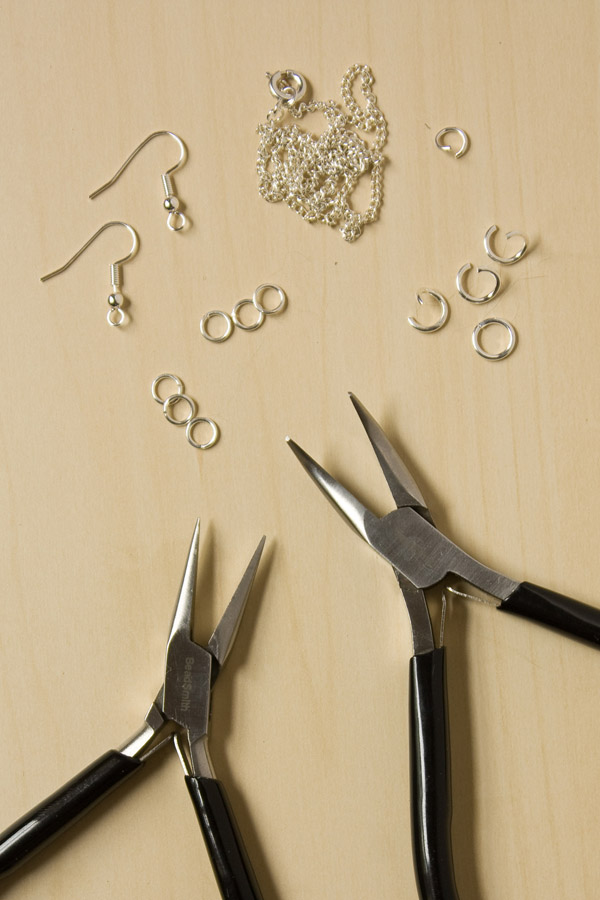
For the necklace:
-4x 8mm jump rings
-1 x 6mm jump ring
-16 inch / 45cm chain
For the earrings
-6 x 6mm jump rings
-2 x fishooks
How to:
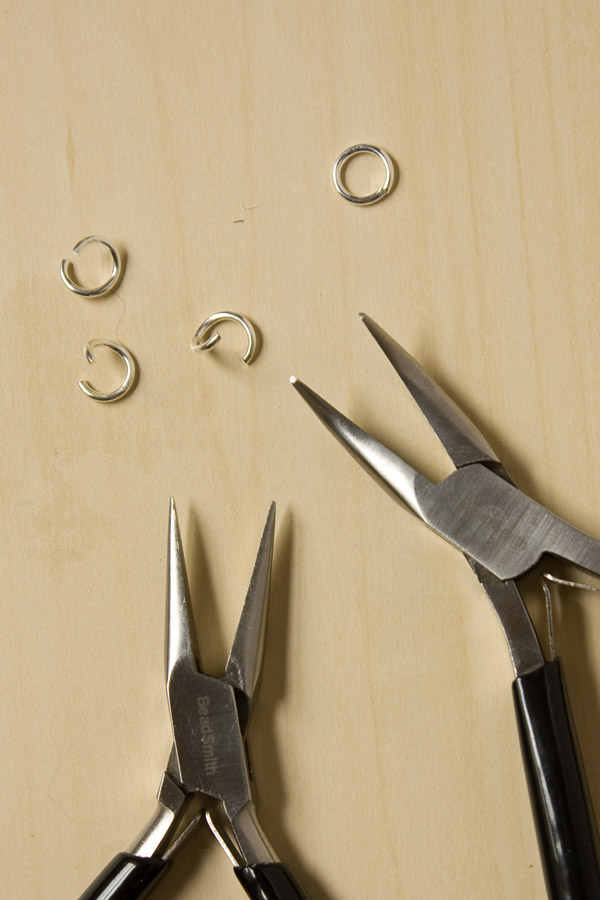
1.For the Necklace The mobius knot works by adding jumps rings (in this case one at a time) that go through the centre of all the others you have added do far. This gets harder to see the more rings you add, so for the necklace we are just using four rings. Open three of the four 8mm jump rings ready.
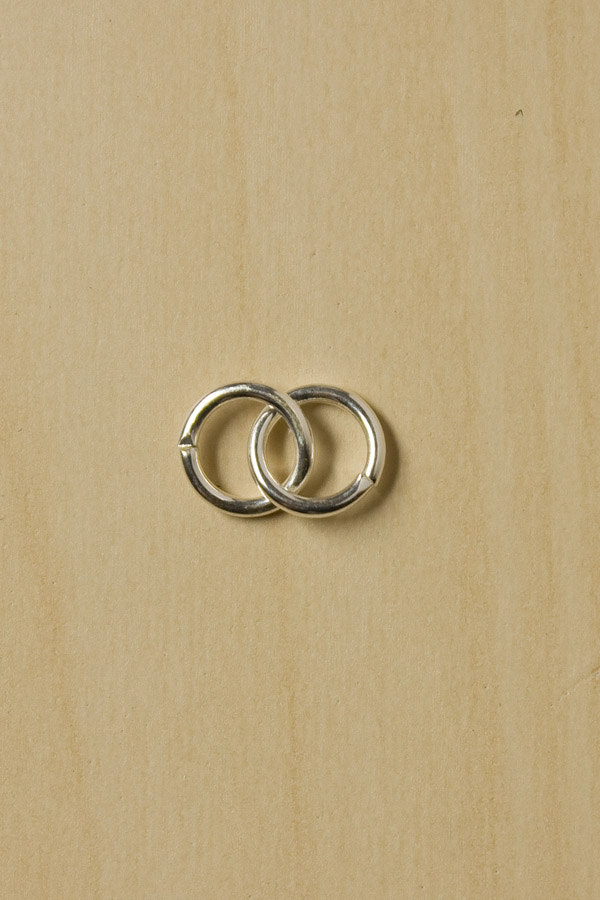
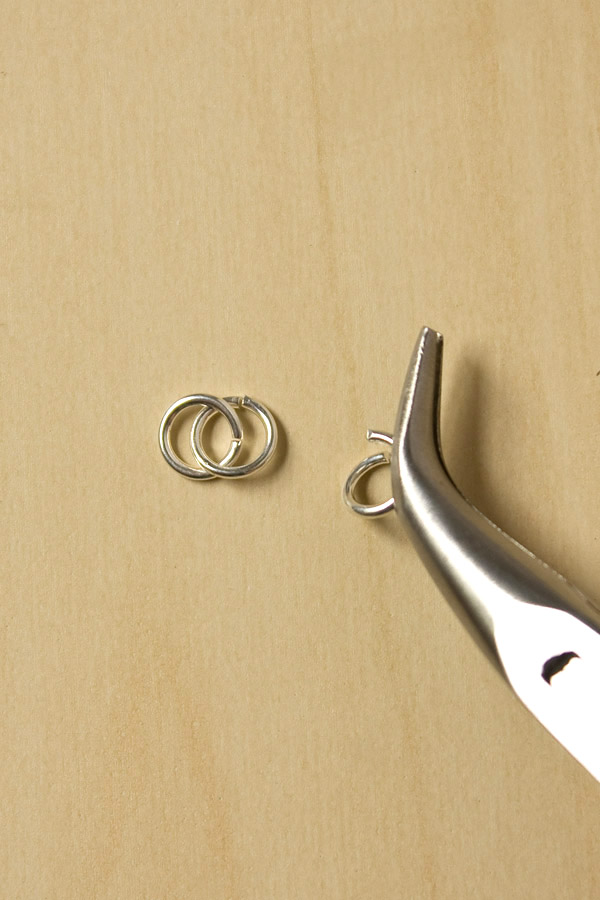
2.Link the closed ring onto one of the open ones and close neatly.

3.Lay the two joined rings down on your work surface, so they overlap like the photo. That oval or marquise shape made in the middle of the over-lapping rings is the centre where we are going to thread our next open ring through.
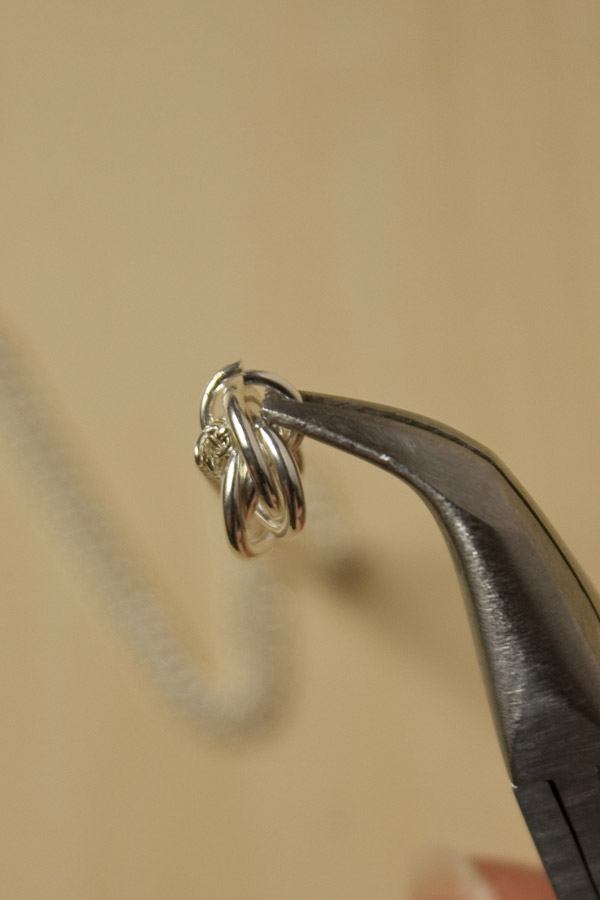
4.Pick up another open ring and thread through the overlap of the previous rings and close.

5.Again. lay the rings down so you can see the middle where the three rings overlap.

6.Pick up your final open ring and thread it through the overlap, and close. That is the mobius knot done! If you can see one ring hanging lower than the others, or if it just isn’t sitting right, one of the jump rings added didn’t go through all of the others.

7.Open your 6mm jump ring and thread it through the middle of you mobius knot and closed chain. So you should be able to see all of your closed rings and the necklace chain hanging in the 6mm jump ring. Close to finish!
8.For the Earrings The earrings are made in the same way, but using three 6mm jump rings per mobius knot. So link two 6mm jump rings together and thread the third through the overlap in the middle.
9Oopen up the loop on the bottom of a fishook earring finding and thread that through the middle of the mobius knot,

10.Repeat steps 8 and 9 for the other earring.

If you have a go at making your own mobius knot jewellery, or have any questions feel free to comment below or message me on Twitter, Instagram or Facebook! Happy Making!