

These DIY copper kitchen utensils will take your plain wooden spoon to a whole new level. The copper details are made with a surprising material that is simple and quick to apply!

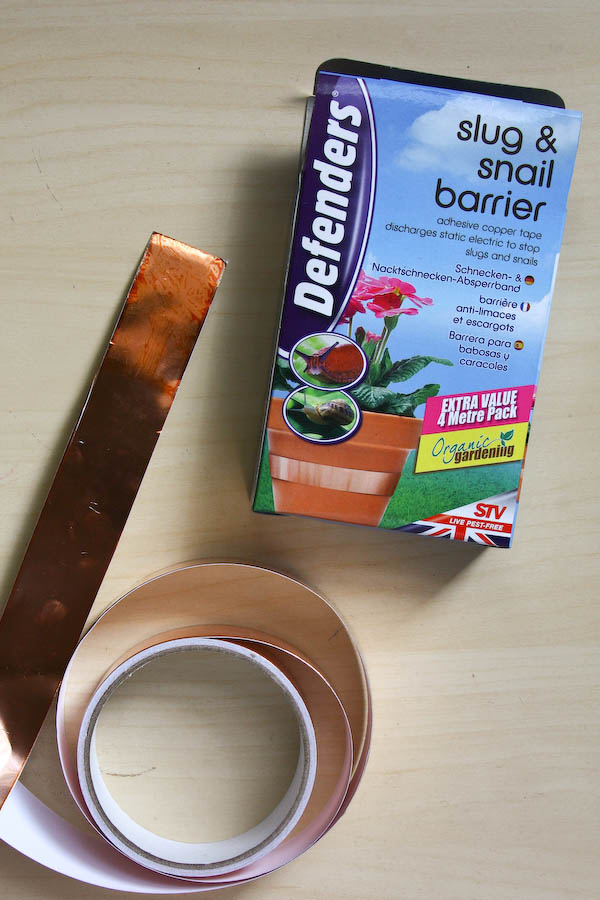
I am still in love with all the copper homewares that are around and I will find any way possible to get metallic details into my home. Then I spotted a product in the garden centre that I saw huge DIY potential in – slug and snail copper barrier strip! No, seriously, stay with my here. The strip is a thin copper sheet with an adhesive backing and is a chemical free way to stop slugs and snails slithering their way into your containers and having a nibble on the plants. Apparently , they get a little electric shock when they come into contact with copper.
But how incredible to get copper sheet with a sticky backing, all ready to go?! It cuts easily with scissors or a craft knife and it only cost £2.49 for a 4 metre reel. Maybe I’m just really easily pleased.
You will need:
-Wooden spoons and spatulas
–Copper slug and snail barrier strip (yes, really!)
-Cutting mat
-Craft knife
-Bone folder
-Pencil

How to:
1. We are going to start simple and give a flat wooden spatula a copper handle. The copper strip I got was 3cm wide, which is more than enough to cover the handle in one go. Cut a piece of the copper to the length you want
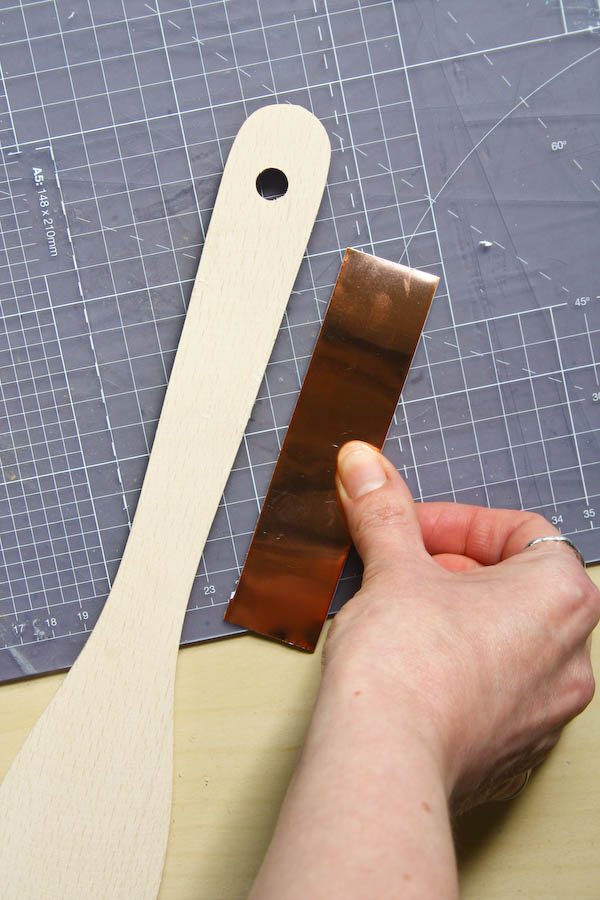
2.The backing peels easily off the copper, but the metal is thin, so don’t be tempted to pull it off in one go. Gently smooth the copper onto the wood as you remove the backing.

3.Use a bone paper folder (or even a steel spoon would work) to smooth any bubbles out and make sure the edges are stuck down well.

4.Turn the spatula over and remove any excess metal with a craft knife. Use the bone folder again to smooth the newly cut edges.

5.Repeat for the other side and you have a copper handled wooden spatula!

6.Now lets try something a bit fancier and cut out some shapes to put on our wooden spoon.

7.On the paper backing, mark out every 5mm across the width at both ends.

8.Join the marks diagonally to create elongated triangle shapes.
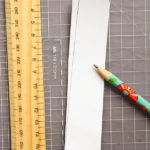
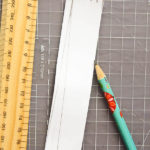
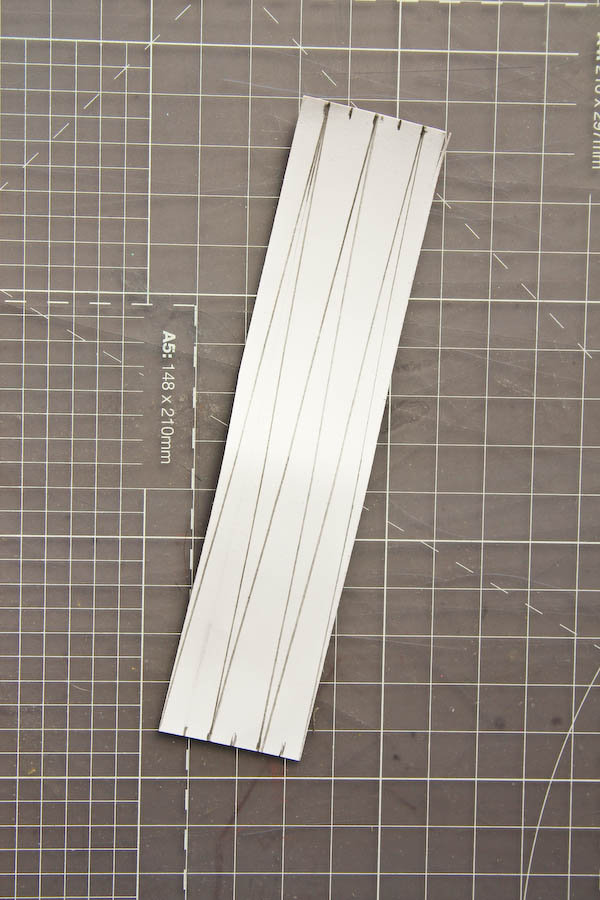
9.Use your craft knife to cut the triangles out.
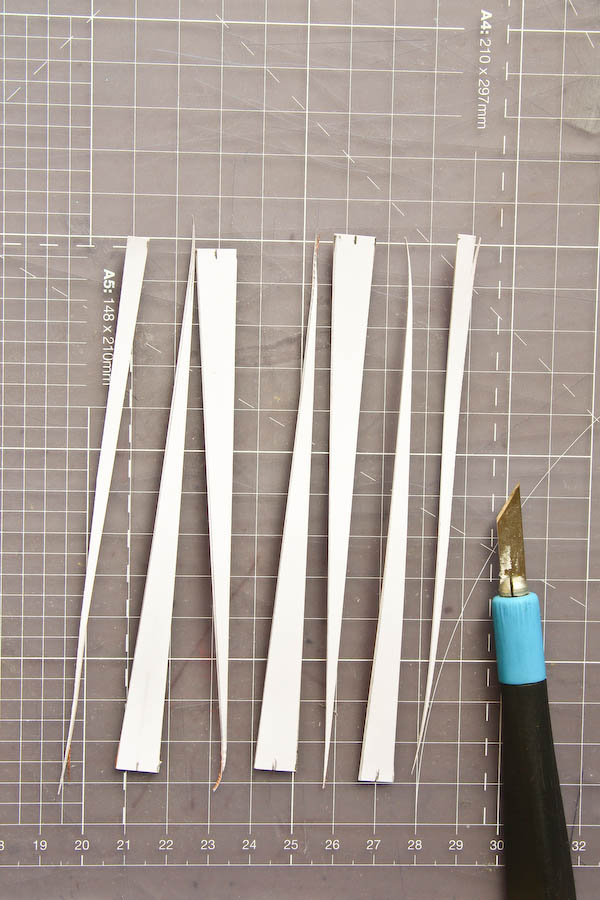
10.Apply the strips starting from the widest end of the triangle, smoothing out as before with the bone folder. As usual, I just eyeballed the placement of my triangle, but using some masking tape to keep the tops level would help keep everything straight,
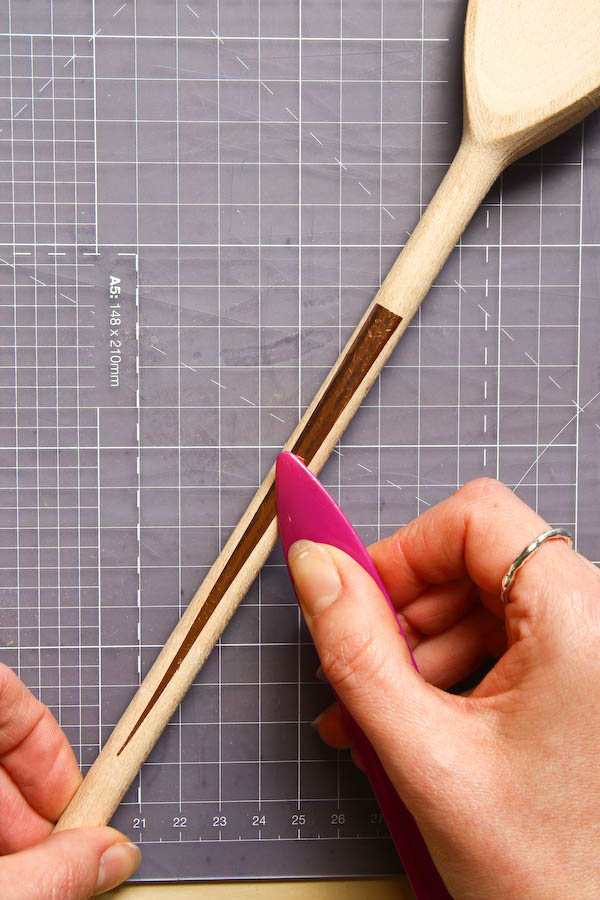
11.I’m so pleased with how these look, and how easy they were to do. No spray paint or fiddly copper leaf. And I have plenty left over if I get an invasion of slugs in my back yard! Winner.

If you have a go at making DIY Copper Kitchen Utensils or have any questions feel free to comment below or message me on Twitter, Instagram or Facebook! And if you don’t want to miss out on any future tutorials, I’d love for you to sign up to my monthly email! Happy Making!
