

Brighten up your day with these glitter earrings, made from shrink plastic and nail varnish!
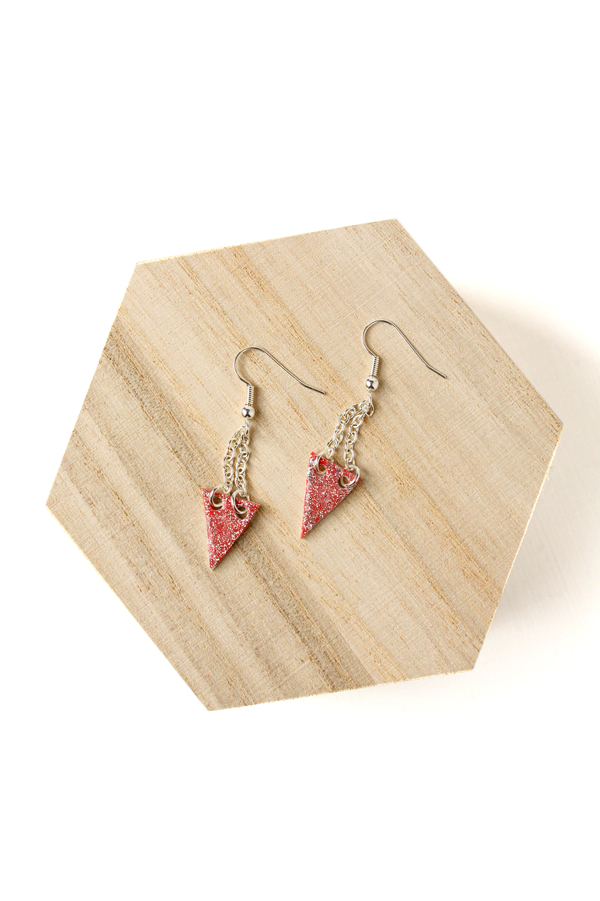
I don’t often paint my nails because with all the jewellery and crafting I do, a nice manicure doesn’t last more than half a day! But I still have some lovely colours of nail polish that I want to use, so why not on some jewellery? You can make any shape from the shrink plastic, but who doesn’t love a triangle?
You Will Need:

-Nail Varnish
-Glaze (I’m using Anita’s 3D Gloss, but Diamond Glaze or Magic Gloss would work too)
–Heat Gun (or you can use your household oven)
-Single Hole Punch
-Scissors
-Pencil and Ruler
How To:
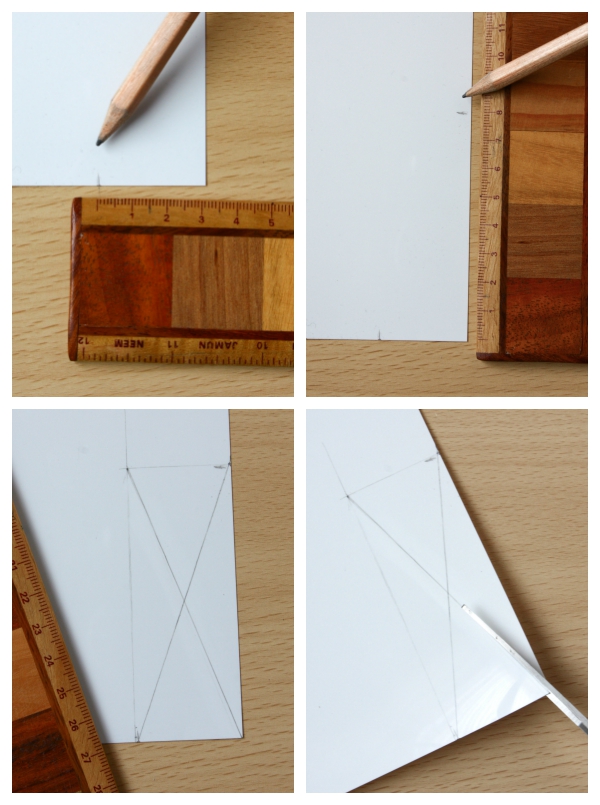
- Measure out a rectangle on the shrink plastic, 3cm x 8cm. Draw a cross, corner to corner and cut out.
2. Punch two holes along the shortest side of each of the triangles, bring careful to leave at least 2mm between the hole and the edges, or it might break as it shrinks. Using a paper-crafting heat gun on a heat proff surface, shrink each of the plastic triangles until it stops moving and shrinking.
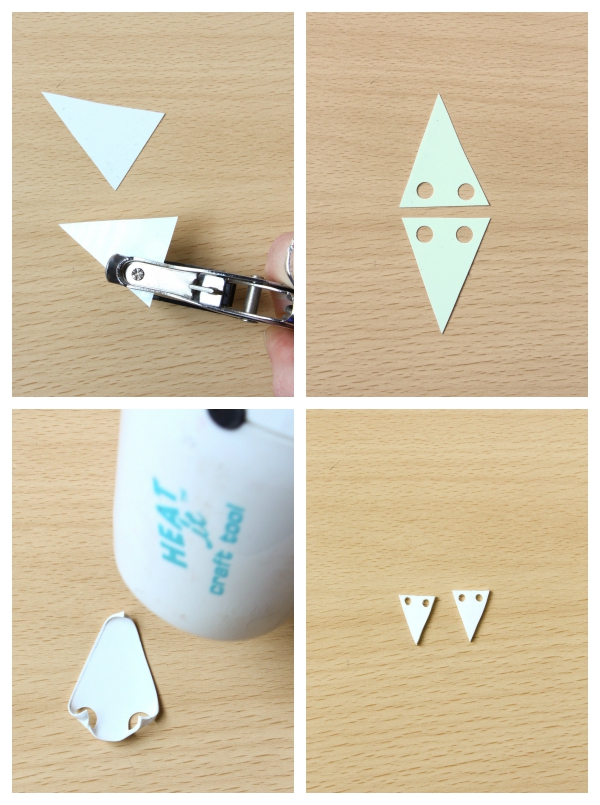
3. Get your nail varnish and paint the triangles, and with the polish still wet, sprinkle over the glitter. Leave to dry then thinly apply the 3D gloss, being careful not to get any in the holes (if any seeps in, have a piece of wire handy to clear it out). The glaze will take up to 4 hours to dry completely.

4. Cut 4 length or chain 1.5 cm long. Using a piece of wire helps the chain to hang so you can cut it accurately. Attach two pieces of chain to a fishhook and the other ends to the holes in the shrink plastic using the jump rings.

If you have a go at making this tutorial let me know on Twitter,Instagram or Facebook so I can share with everyone! I love seeing your makes ![]() Happy Making!
Happy Making!

I love anything glitter and I’ve always wanted to try shrink plastic. Your tutorial is a good opportunity!
Ntina @happygirlycrafty.blogspot.gr/
Shrink plastic is so much fun! Let me know how you get on with it!