

Make your own cute macrame ghost with this step-by-step tutorial!
This pattern can be easily adapted for different sized rings and types of cord. Im making a large sized one in the tutorial, using a 5cm d ring and the single twist version of my 4mm cotton macrame cord. But skip to the end for how to adapt for small d rings and thinner cord, including yarn and wool!
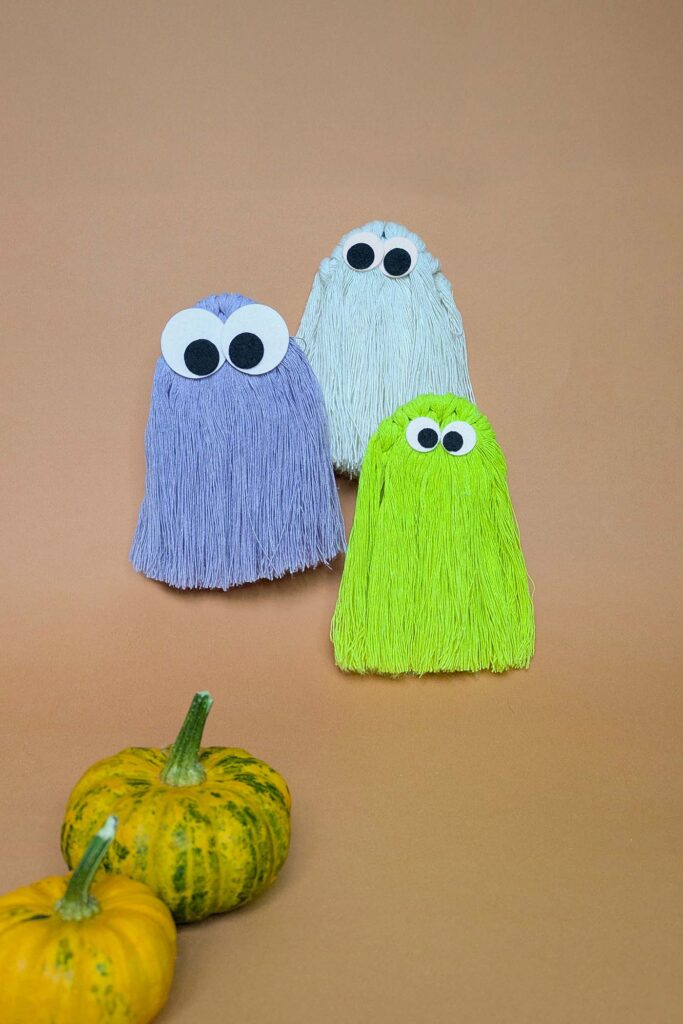
These macrame ghosts are easy and fun to make, with no previous macrame knowledge needed, they are a perfect beginner project. They use d-rings, which are usually used to attach bag straps or in belts. It can be adapted for the d-ring sizes you can get and whatever macrame cord, yarn or wool you have. I have linked the materials to the ones I have used below.
This post contains some affiliate links. If you buy something using these links, I may earn a small commission at no extra cost to you. Not all links are affiliate links and I only ever link to reputable sites to help you get the items needed for the tutorial.
You will need:
- 4mm macrame cord
- 5cm d-ring
- Glue on craft eyes
- Scissors
- Glue
- Measuring tape
- Brush or comb
- Monofilament thread like Supplemax
How to make a Macrame Ghost

1.Begin by cutting your cord: if you are using a large 5cm d-ring like me, you will need 8 x 30cm and 4 x 40cm lengths of 5mm cord. Depending on how squishy your cord is, you make a couple of extra lengths, so make sure you have a little bit extra just in case.

2.Take one of the shorter 30cm lengths and fold in half. Place the looped end underneath the straight part of the d-ring.

3.Pick the looped part of the cord up.

4.And bring it down towards you over the top of the straight part of the d-ring. It will look a bit like a heart or pretzel!

5.Now reach into the middle of the heart/pretzel shape, but outside of the d-ring, and pull up both of the cords.

6.Pull them all the way through the loop of cord, below the straight part of the d-ring.

7.Hold the ends of the cord and the top of the d-ring and pull firmly to make the Larks Head knot.

8. Repeat steps 2-7 with 4 more cords. This should fill up most of the straight section of the d-ring. Note that Lark’s Head knots looks different back and front. If you can see any horizontal bumps of cord, you probably turned your d-ring over at some point. Dont’ worry, you can easily loosen the knot and retie, making sure that the side without the bumps is facing up as you make the knot. Take a look at this post to find out more about Larks Head knots.

9.Now start adding the longer 40cm pieces of cord to the curved part of the d-ring in the same way.

10.You will probably find it easier to rotate the d-ring around so you are working with the curved part nearest to you.

11.Once all of your cords are added, spread them out evenly and add a couple more cords if there are gaps in the curved section (don’t worry if there are gaps on the straight section). Make sure that all of your cords are the right way round, and redo any that are back to front.

12.Now we are going to pick up the ghost so that the cords attached to the curved section come down like a fringe over the cords on the straight section.

13.Trim off the cords so they are all the same length – we will be giving the ghost a final haircut after a brush out, so this is just to remove any excess.

14.Starting from the ends, begin to brush out the cords. If you are using a braided cord or a yarn, skip this step, as they won’t comb out. I’m using one of my Macrame Brushes, but you can use a pet brush or a normal comb.

14.Keep brushing until you have nice combed out cords. Be very careful when you get near the knots, as you don’t want to catch them and pull out any threads from the cords. Give the ghost a final trim with scissors.

15.To make the macrame ghost look like it is floating, use some jewellery monofilament thread like Supplemax, or use a fishing line. If you don’t have either of these, you can just use a thinner piece of cord, twine or yarn instead. Then give the ghost a final trim to the finished length you would like and to remove any fluffly ends from the brushing.

16.Cut a length of the monofilament or whatever material you are using, and attach it to the middle of the curved section of the d-ring in the same way you added all of the cords.

17.Choose your eyes. You can cut circles of felt, buy these ready-made felt eyes or use the classic googly eyes!

18.Use some glue like Anitas or Aleenes Tacky Glue to stick them on – don’t be shy with the amount of glue you use, as it will absorb into the cords and felt.

19.Press them down onto the cord and hold in place for a few seconds. Leave to dry.
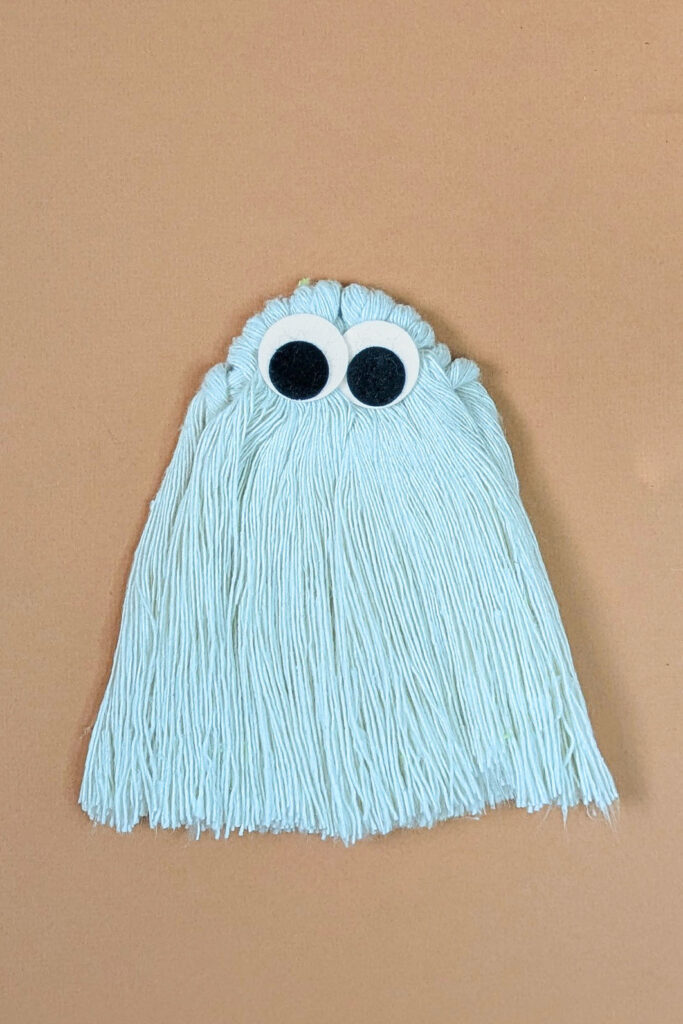
20.Your macrame ghost is ready to hang!
If you would like to use smaller rings and thinner yarns, I recommend starting with:
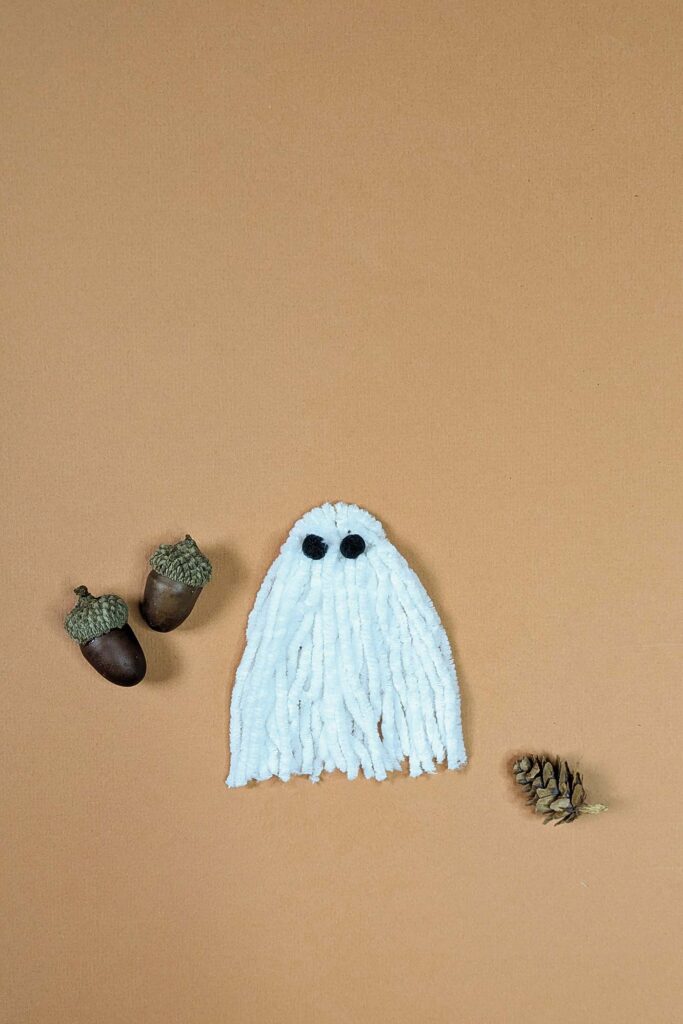
For a 25mm d-ring and DK weight yarn
- 8 x 20cm lengths
- 12x 2ocm lengths
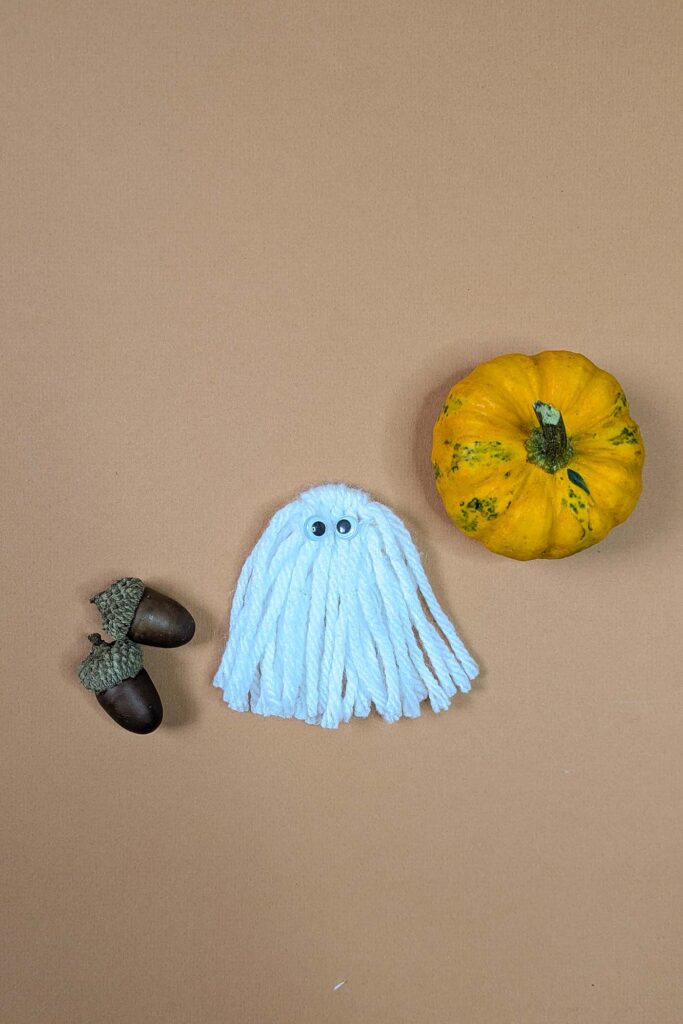
For a 25mm d-ring and aran /worsted weight yarn
- 7 x 20cm lengths
- 9 x 20cm lengths
All other instructions remain the same, except you generally can’t brush out knitting and crochet yarns like you can macrame cord.
