

These pretty macrame Easter egg decorations are the perfect yarn craft to make this spring! You can use cord, twine or even embroidery floss to make the basic macrame knots in this project.
I’ve had these little plastic eggs hanging around for a few years- they have been used as props in the background of other Easter craft tutorials. but finally, their time has come! (Any other type of blank egg shape from the craft store would work too, as would a real egg – find out how to remove the egg from its shell here). As for the yarn, this is the cotton aran from Rico. Cotton works best for macrame because it holds the knots well and isn’t as fuzzy as acrylic or wool. Macrame cords, bakers twine, string or embroidery thread also works. Just be aware that different combinations of egg size and yarn type will affect how the project looks. The pattern will still work, but you will see more or less of the egg depending on the combo used.
And if you like this tutorial, why not take a look at my Macrame Kits, eBooks and Digital Patterns?

You will need:
- Small plastic eggs (mine are 4.5cm tall and 3cm at their widest)
- Yarn, cord or bakers twine (I’m using cotton aran weight yarn)
- Double sided sticky tape
- Sticky tack/Blu Tack
- Scissors
- Measuring tape
Optional extras: - Clipboard (easily move around the egg without picking it up and re-attaching it all the time)
- Washi tape / Masking Tape (to tape the holding cords down)
How to make Macrame Easter Egg Decorations:
- Cut 8 x 60cm lengths or your yarn or cord.
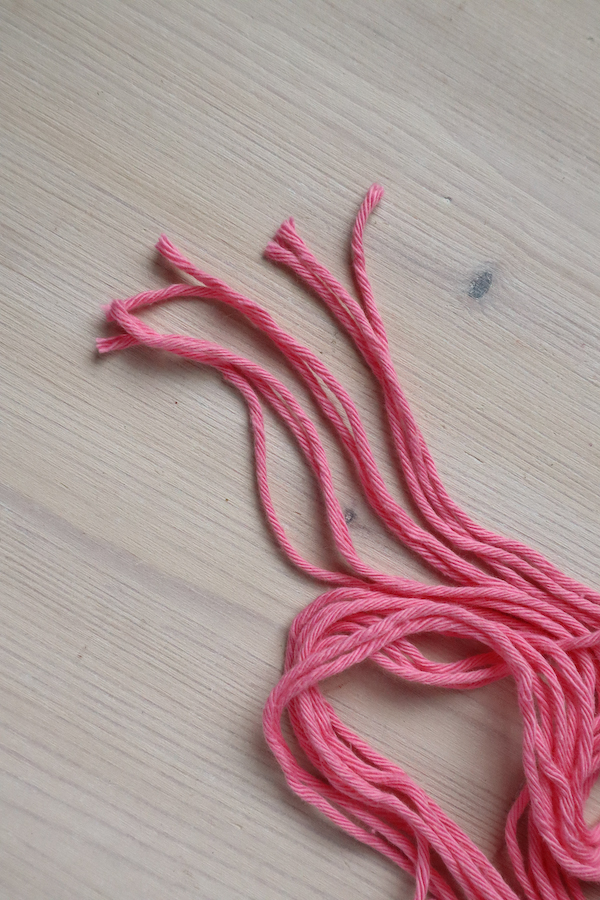
2.Fold one of the lengths of yarn in half and lay horizontally on your work surface.
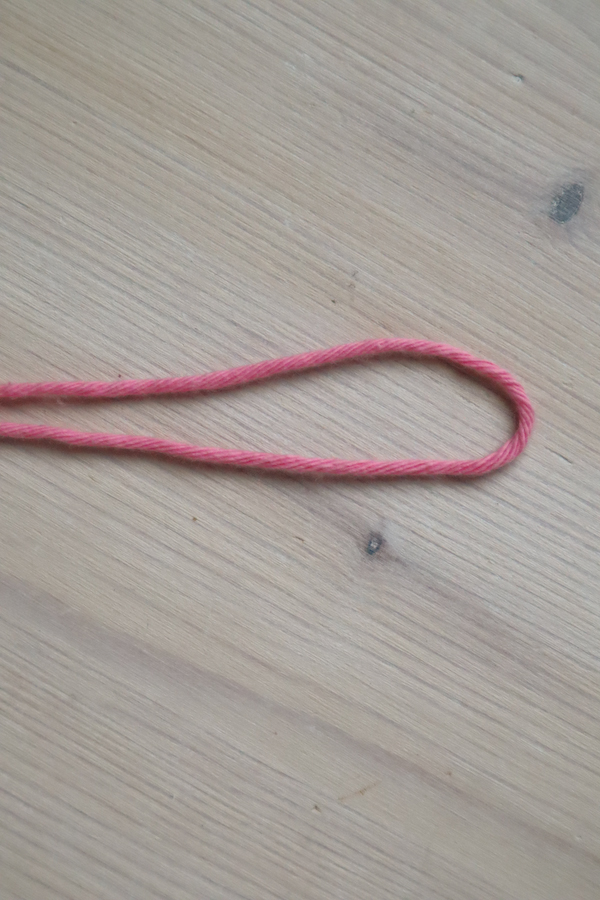
3.Fold another length of cord in half and place the folded end underneath the horizontal piece.
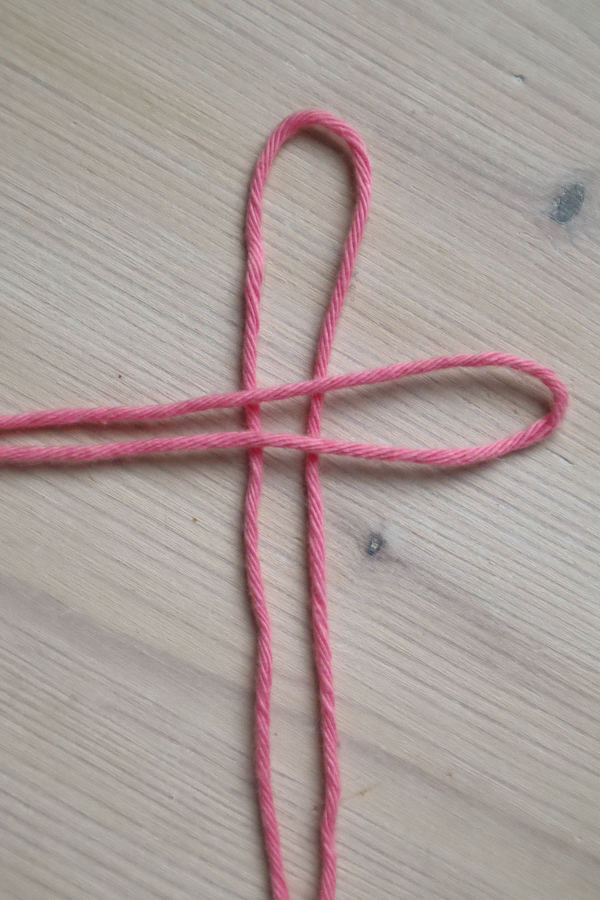
4.Bring the ends of the new piece up and and take them down the thorough the loop
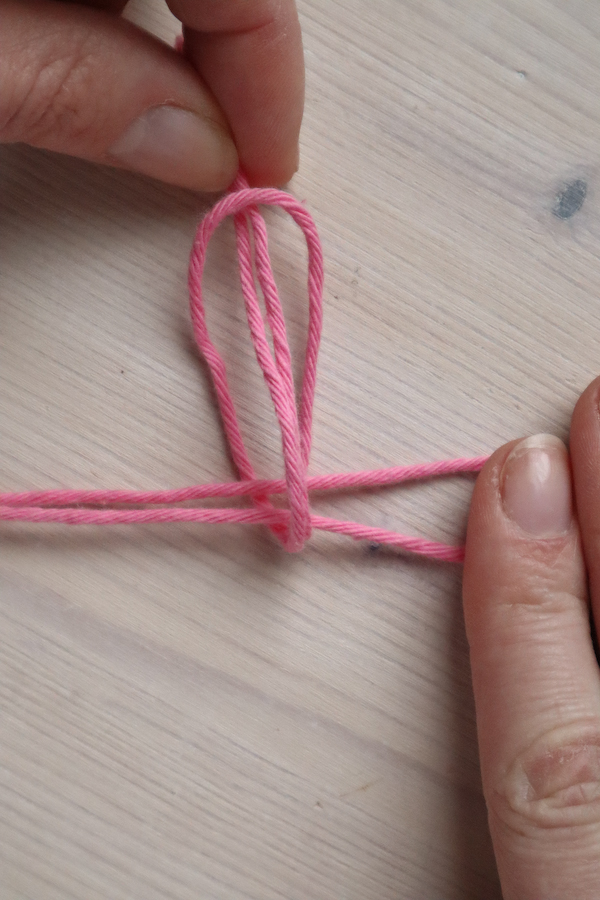
5.Pull tight to create a larks heads knot.
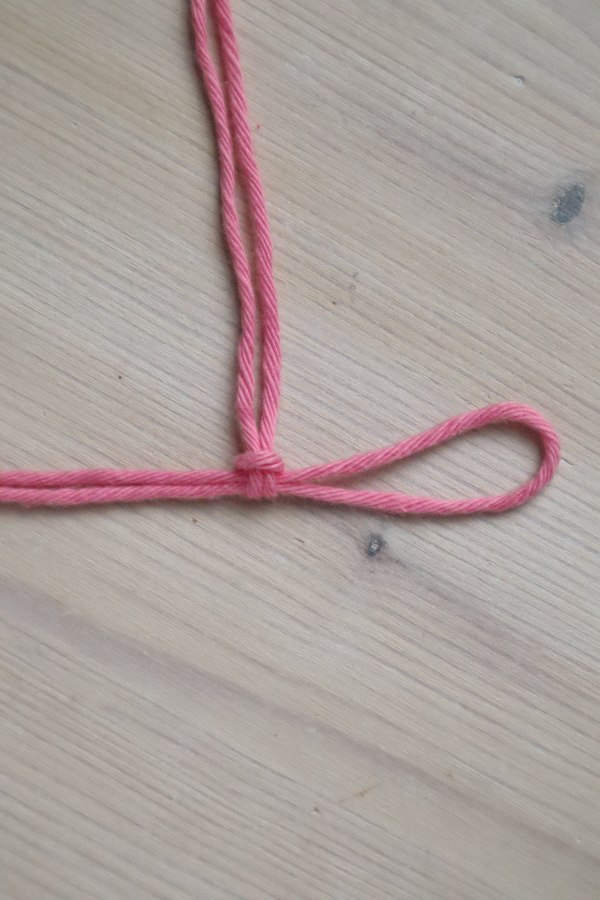
6.Repeat steps 3-5 with the remaining six lengths of cord.
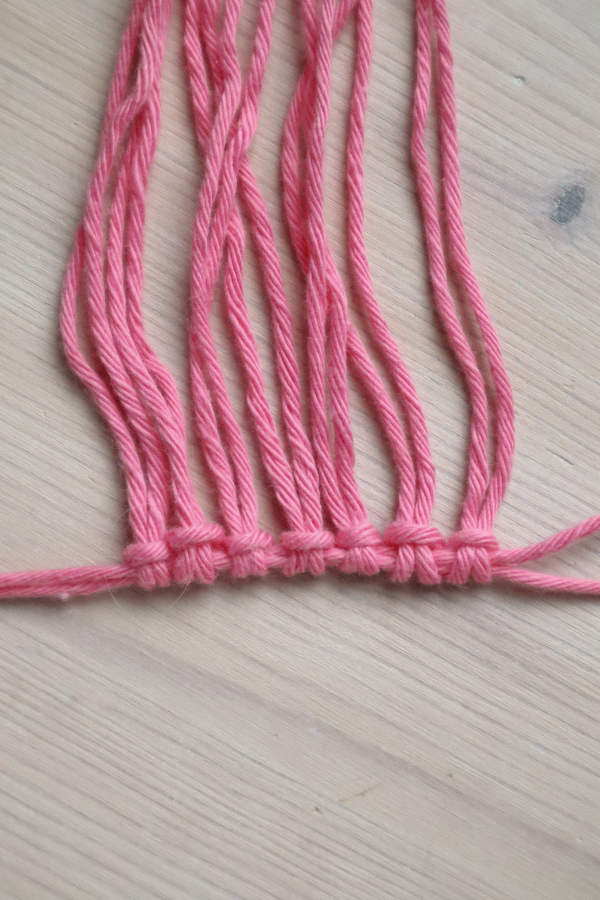
7.Bring the ends of the horizontal length of cord through its loop, but don’t fully tighten it up just yet.
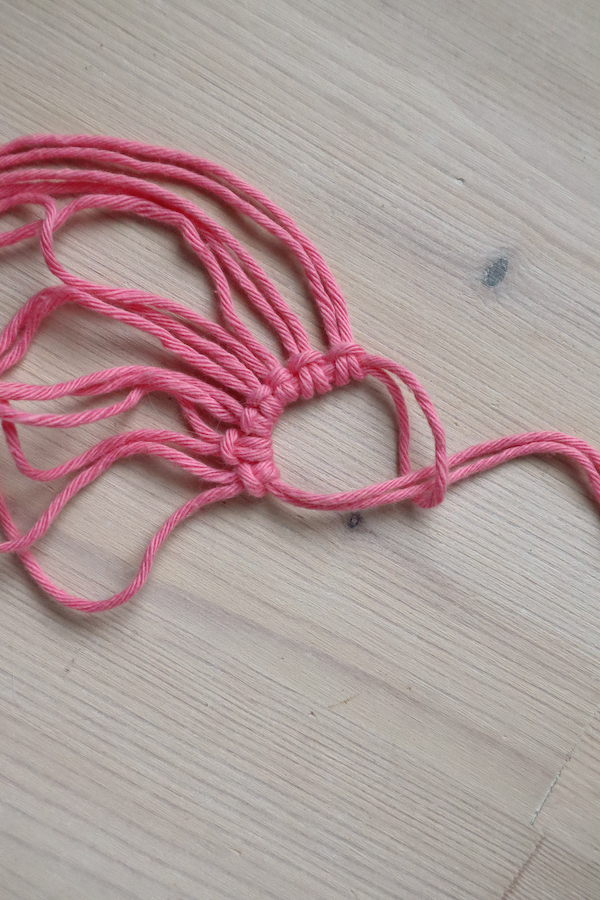
8.Cut a 30cm length of your yarn for the hanging loop (I’m using a contrasting colour), tie a knot and trim off the excess.
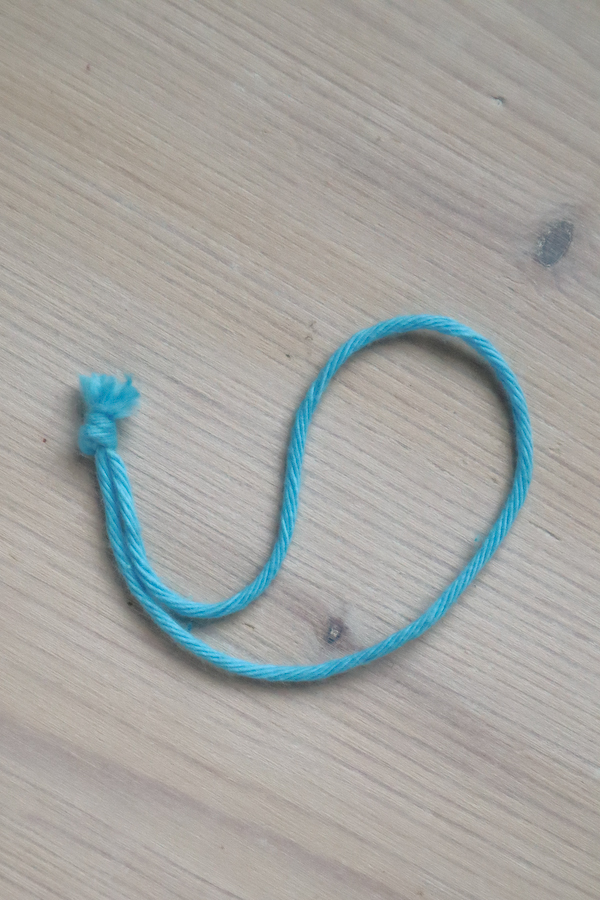
9.Bring the knot of the hanging loop up through the middle of the circle of larks head knots and tighten.

10.Cut a small, 1cm square of double sided tape and stick it to the pointy top of your egg. This stops it from sliding about as your are making your knots and helps secure the hanging loop.

11.Put a blob of Blu tack or other sticky tack onto your work surface or clipboard and stick your egg down. Separate out 4 pieces of yarn. The 2 in the centre are going to be “holding cords”, which means they are static and other cords knot around them. Those single pieces of yarn on either side are going to be our “working cords”, so the cords that we move and knot. .

12.Bring the left working cord across the the holding cords.

13. Bring the right working cord down so it sits over the top of the tail of the left.
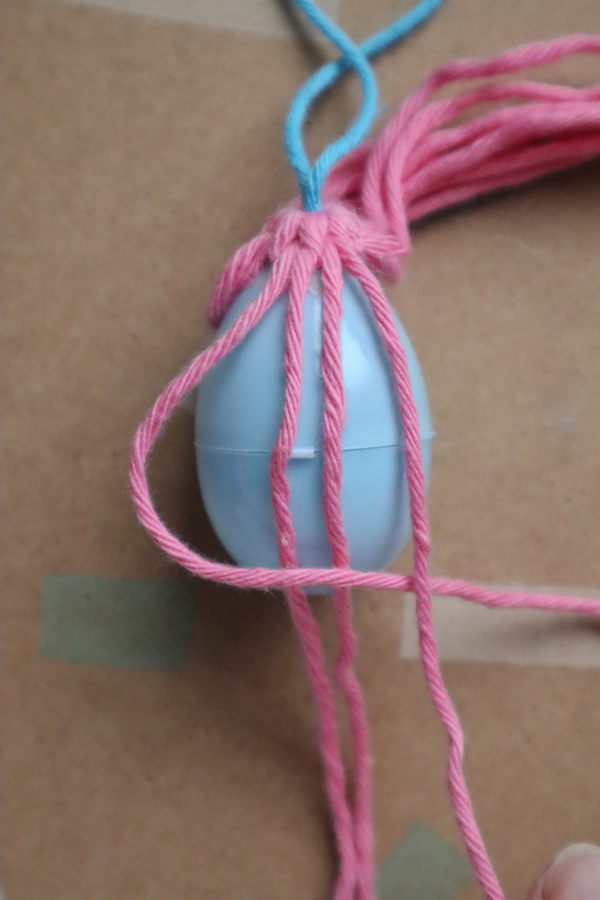
14.Then bring the tail of the right cord underneath where the holding cords and left cord cross and up through the loop.

15.Pull both of the working cord ends to tighten. This is the first half of a square knot.

16. The second half of the square is a mirror image of the first. Bring the right working cord across the holding cords, then the left working cord comes down over its tail.

17. Next take the left cord under where the other cords cross and up through the loop.

18. Pull both working cords to tighten. This is one square knot complete!
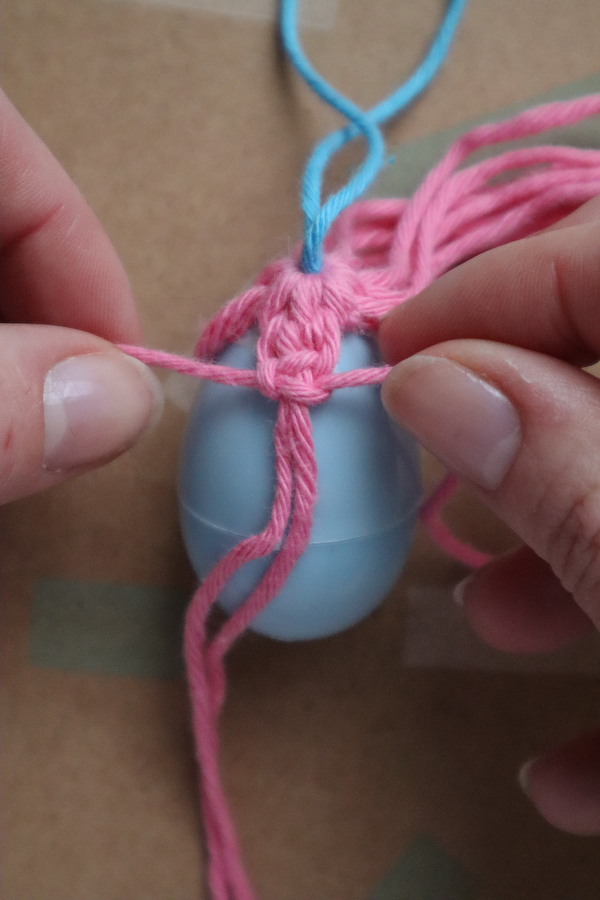
19.Repeat steps 12-18 to create another square knot

20. Move to the next set of 4 pieces of yarn (it doesn’t matter in which direction) and make 2 square knots with these cords. Do the same for the remaining pieces of yarn to complete round one.
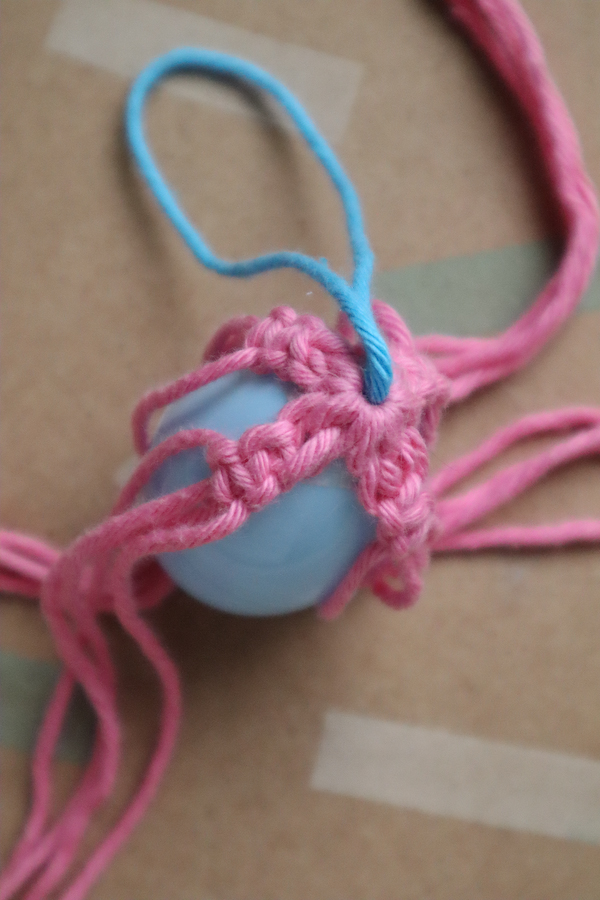
21.For round two, take two pieces of yarn from the right and two from the left to create a new set od holding and working cords.

22.Using the two cords in the centre as holding cords, repeat steps 12-18 to create two square knots.
Top Tip Do not pull the first half of the first square knot too tightly. You want to have those open, almost lacy areas between this and the previous knots.

23.You want to try and get these two new square knots to sit centrally in-between the first two.

24.Work your way around the egg, creating two new square knots in-between the first.

25. For the final round, take two cords from the left and two from the right as your new set of cords. Make two square knots in line with the knots from round 1.

26.Try to get the open lacy section similar in size to those from the previous round.

27.Work your way around the egg untill you have got 4 new sets of square knots.

28. Cut a 30cm pieces of yarn and tie around all the tails at the base of your egg.

29. Tie another knot to make sure it is secure.

30. Trim the tails to finish!

These macrame Easter egg decorations can be used like bunting or a garland, hung from trees or over a fireplace.
I’d love to see your version of this project – share by tagging me on Instagram!
You can also Sign up to my monthly email The Loop where you will also get a copy of my Getting Started in Jewellery Making eBook!
Happy Making!
