

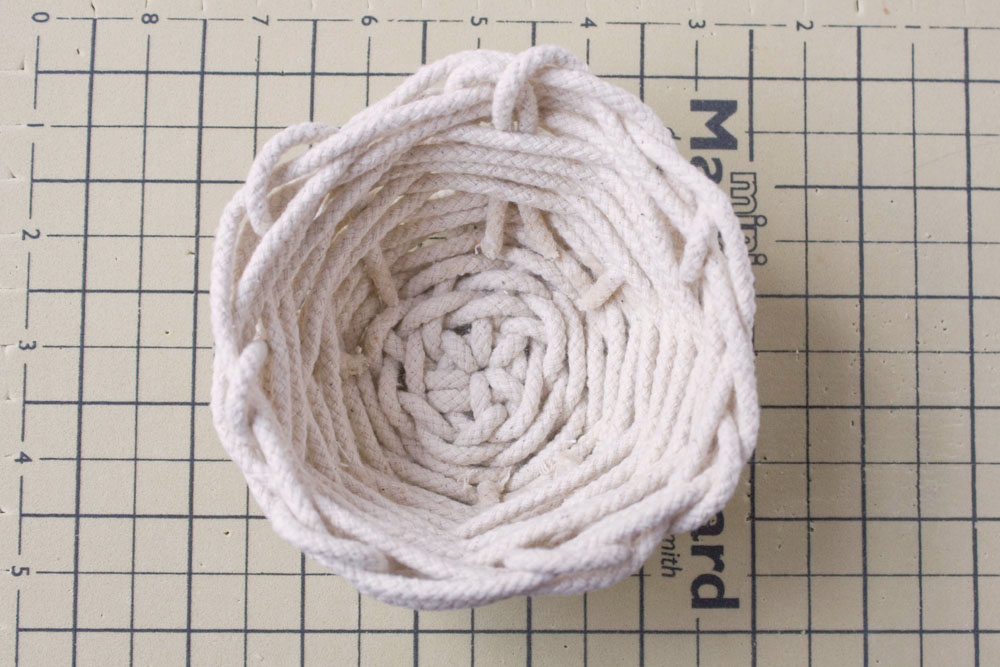
I don’t know about you, but I can never have enough storage. After coveting the many basket-weaving DIYs and inspiration over on Pinterest, I wanted to create something out of cotton rope, that was purely knotted and woven. This rope basket DIY perfect for storing everything from jewellery, washi tape to erm, tea!
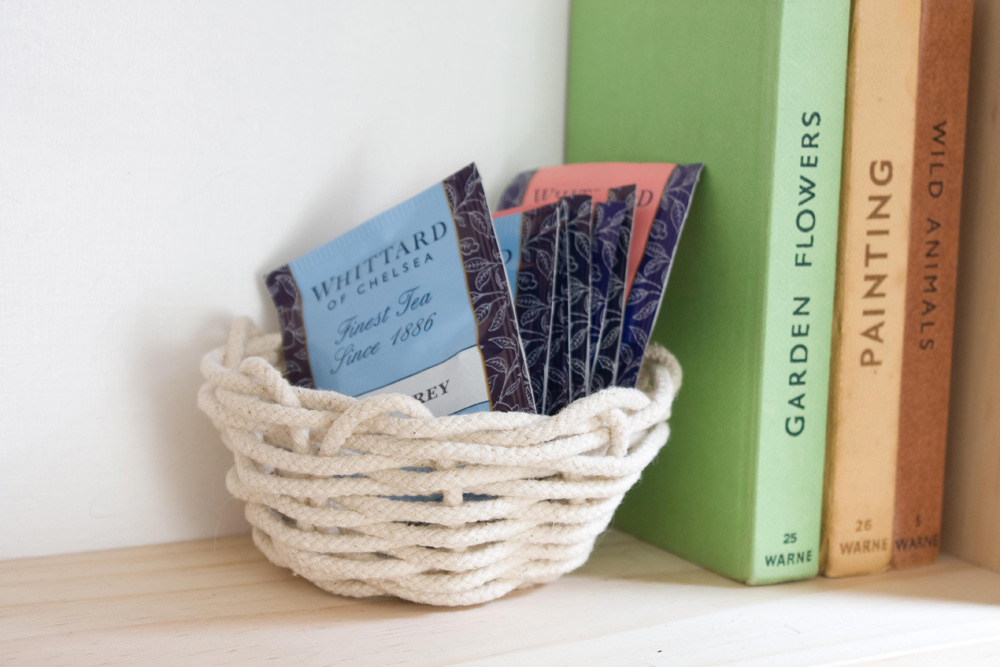
Basketry is an ancient craft; archaeologists have found examples in Egypt dating from 12000 years ago! Here in the UK, examples of woven fences and vessels have been found at an Iron Age site near Glastonbury. Update this age-old technique with cotton rope from the DIY store. And because the rope is cotton, you can even dye it different colours!
You will need:
-8 metres/26’ of 3mm Cotton Rope (Mine is from B&Q but you could also use my 4mm macrame cord or 10mm macrame cords)
-Super Glue or a Glue Gun
-Scissors
-Macrame Board
-Pins
-Sellotape

How To:
1.Cut 3x 40cm/18 inches lengths of rope and put aside. Cut 7 metres of rope, fold one end back by 20cm/8 inches and pin the fold to your macrame board (you can also use a foamboard or cork) 30cm/12” from one end. Top tip- if you stick a small amount of sellotape around the point you want to cut your rope it will stop the ends from fraying!
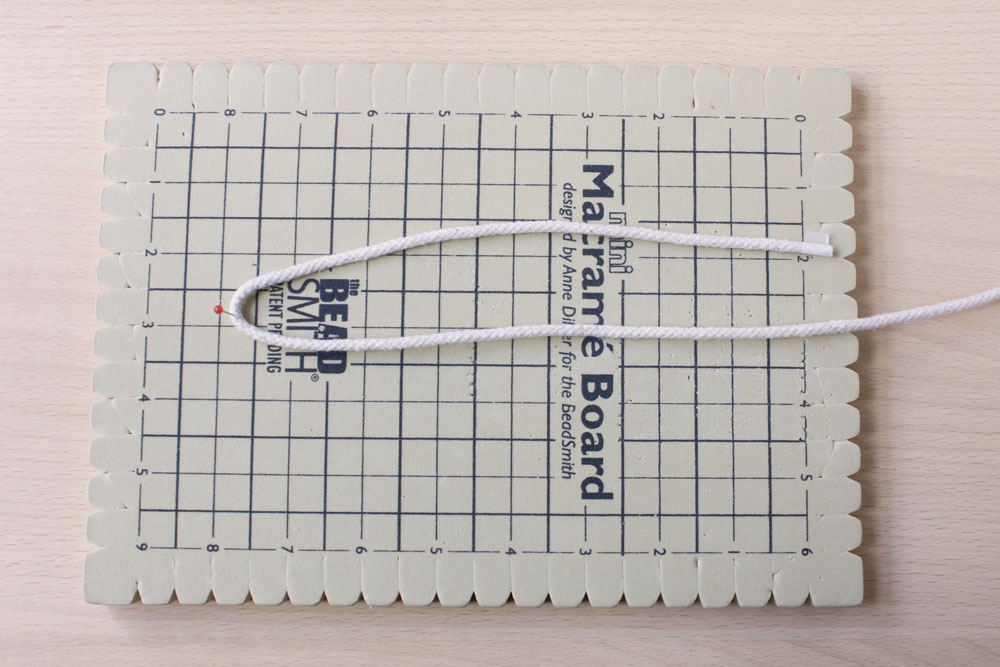
2. Take one of the 40cm lengths, fold in half and slide under both of the ends on your board.

3.Bring the ends through the loop and pull tight to create larks head knot. If you haven’t made a larks head knot before take a look at this post and refer to the ‘reverse’ Larks head knot section.

4.Repeat with the other two 40cm lengths.

5.Unpin the main piece of rope from your board and pull both ends through the loop. Pull into a circle.

6.Pin the 7 shorter lengths to the board, spreading them out evenly in a circle, leaving the long length free to weave your basket. In basketry terms, the shorter lengths are referred to as stakes and the longer length as the weaver.

7.Begin weaving the long length, over, under, over… the shorter ones
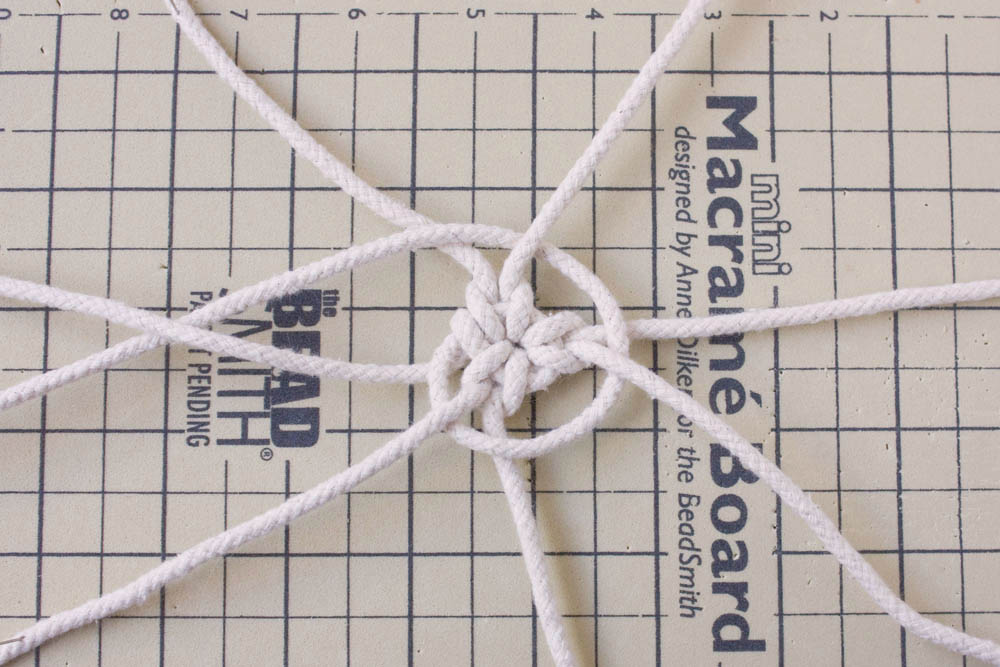
8. Keep going until the weaving reaches at least 5cm in diameter. This gives your basket a firm base.

9.Unpin the stakes and start weaving upwards off the board, sitting each pass of rope slightly on top of the previous, rather than at its side.
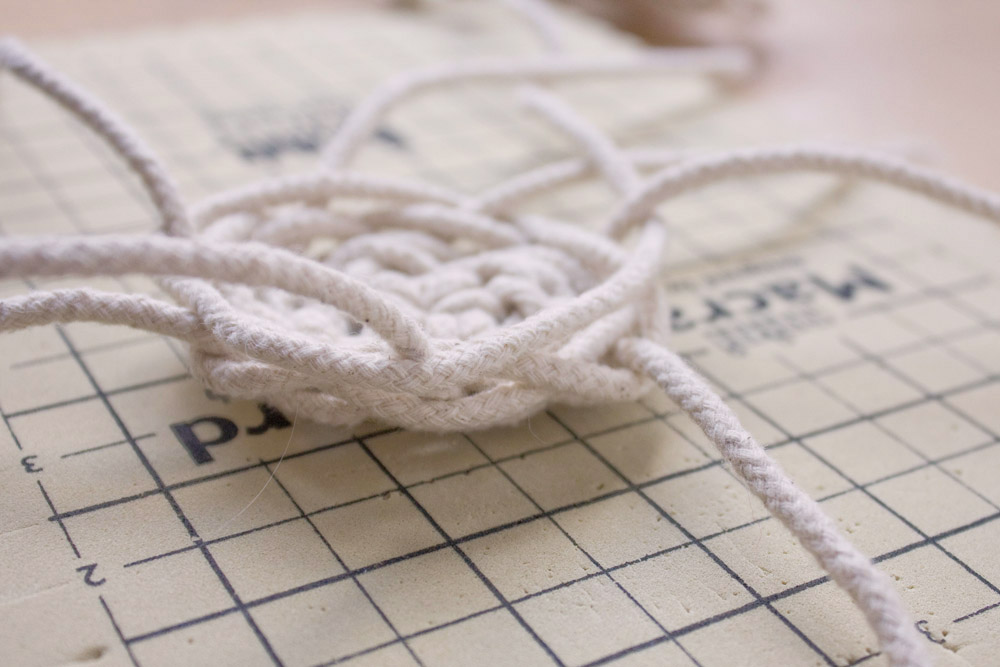
10.Keep weaving, being careful not to pull too tightly, until you are happy with the height of your basket. The stakes need to be kept at least as long as the basket is high.
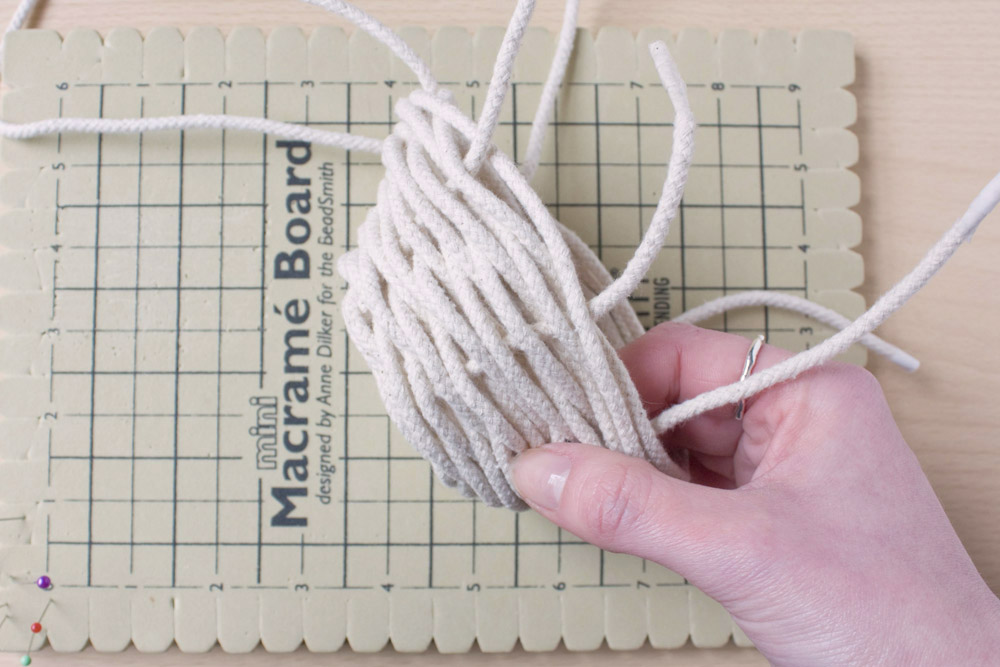
11.For the stakes that finish on the outside, bring them down the inside, over the top 2 weavers, then under the next two.
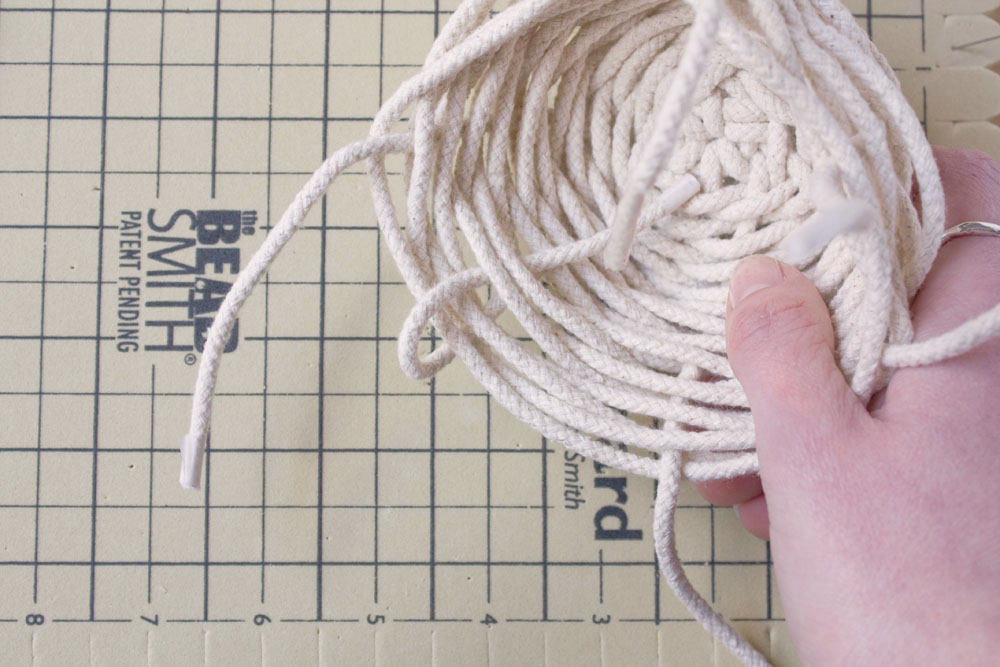
12.For stakes that finish on the inside, bring them over the top to the outside, over the top 2 weavers and through to the inside of the basket.
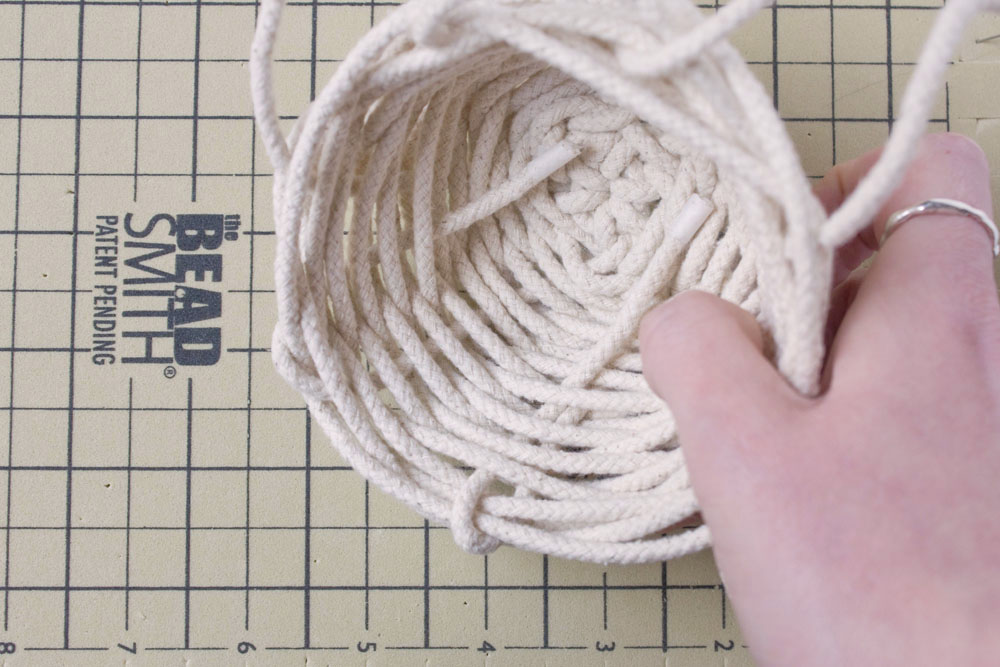
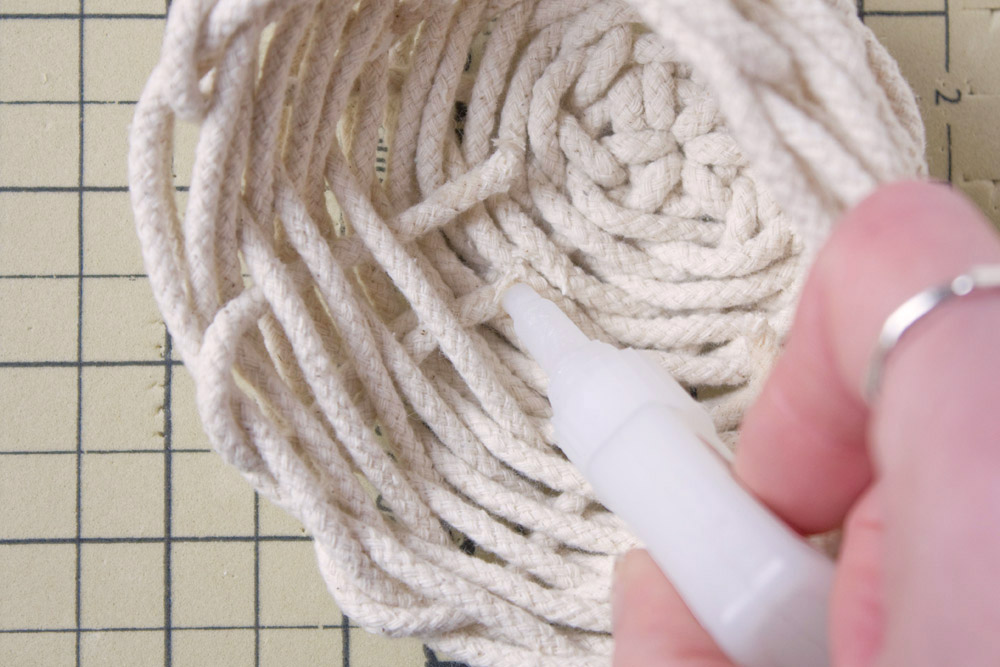
13.Weave each stake down through the weavers to the bottom of the basket. Cut off any excess and apply a small amount of glue to secure the ends and prevent fraying.
If you have a go at making this rope basket DIY or have any questions feel free to comment below or message me on Instagram or Facebook! And if you really like my tutorials, I’d love for you to sign up to my monthly email! Happy Making!


that is soooo cool
Thank you, glad you like it!
Pingback: Quilt Therapy
Looks so easy. Thank you for sharing
Thats awesome..love the basket,always wondered..Ur a natural teacher..make it look easy..Thx for sharing
Thank you, that’s lovely of you to say! Emma
I have only just started in macrame but you make this look easy.Hope I can make one!!