

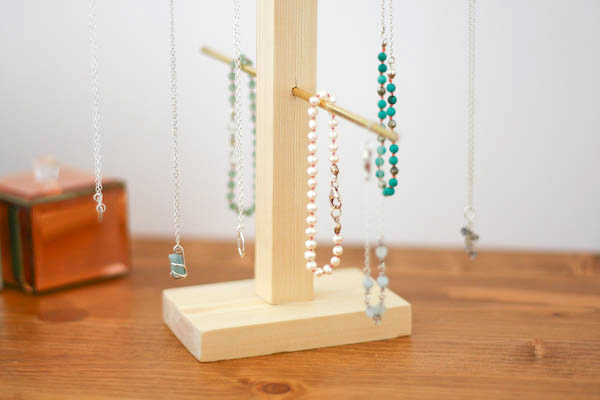
One day I looked at my dressing table, and realised as a jewellery maker, it was sightly ironic that I hadn’t got a decent jewellery storage solution. I had a single jewellery box whose contents had become so tangled over time, that I just never used it! This meant my table was covered in necklaces and bracelets. Sounding familiar? Yeah. Taking inspiration from some jewellery tree stands that I had seen at places like Oliver Bonas and Anthropologie, I came up with this Wood and Brass Jewellery Holder DIY tutorial!
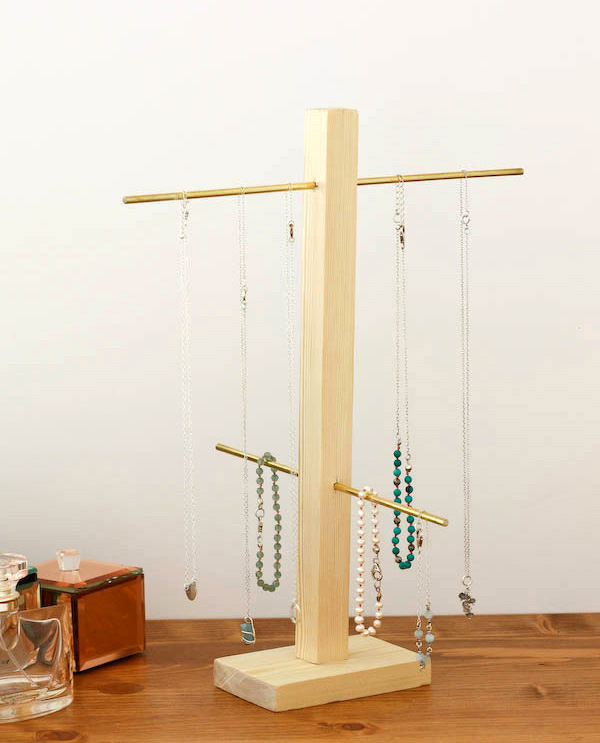
This project assumes some very basic knowledge of woodworking and power tools, but if you are a beginner just go slowly and be careful with sharp edges!
You will need:
-Strip of 2cm square wood
-Small section of 6.5cm x 1.5cm wood
-Drill and selection of drill bits.
-Hacksaw and metal blade
-Countersink screw
-Pencil and Ruler
-Sandpaper
How to make:
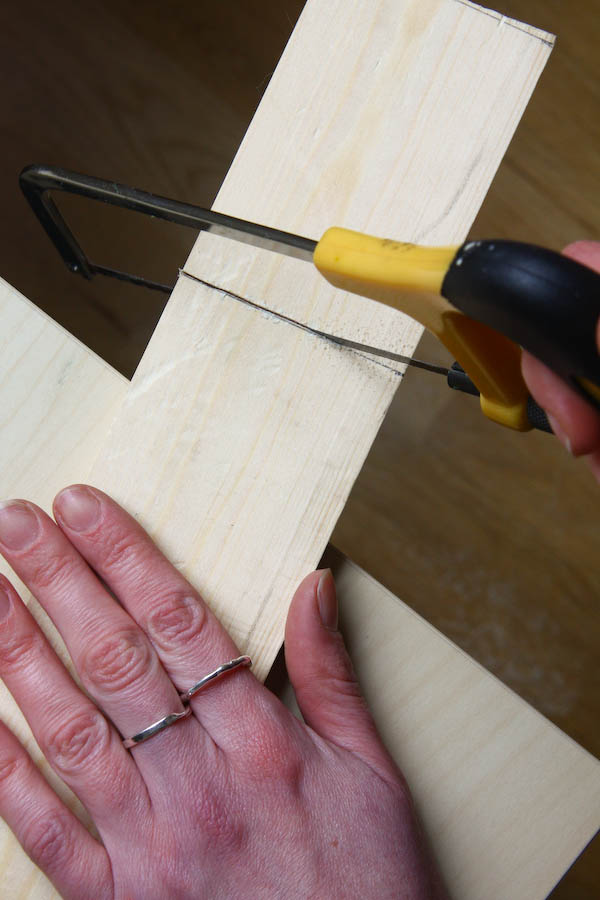
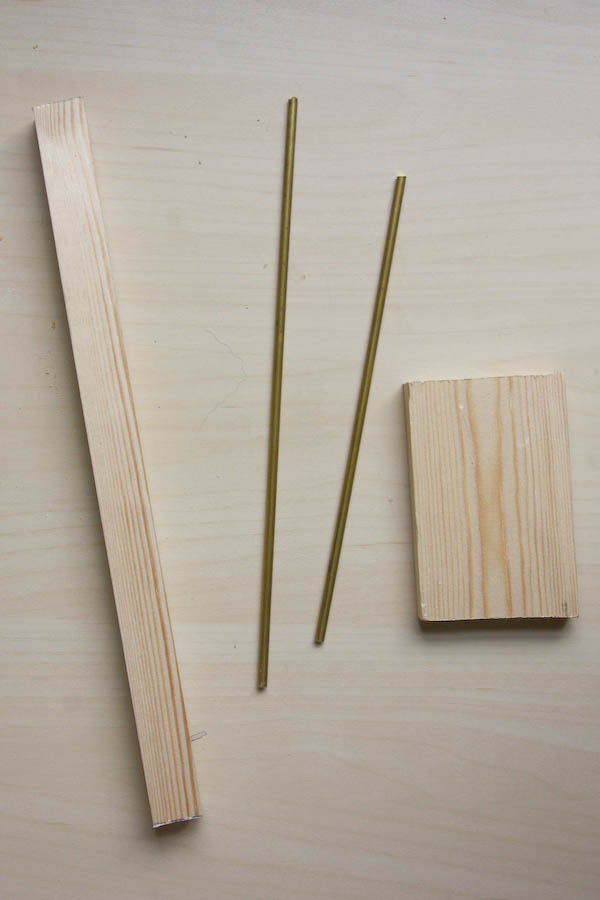
1.Lets start by measuring and cutting out all the pieces. Take the square section of wood and cut a 30cm / 12″ length. This will be for the main upright.
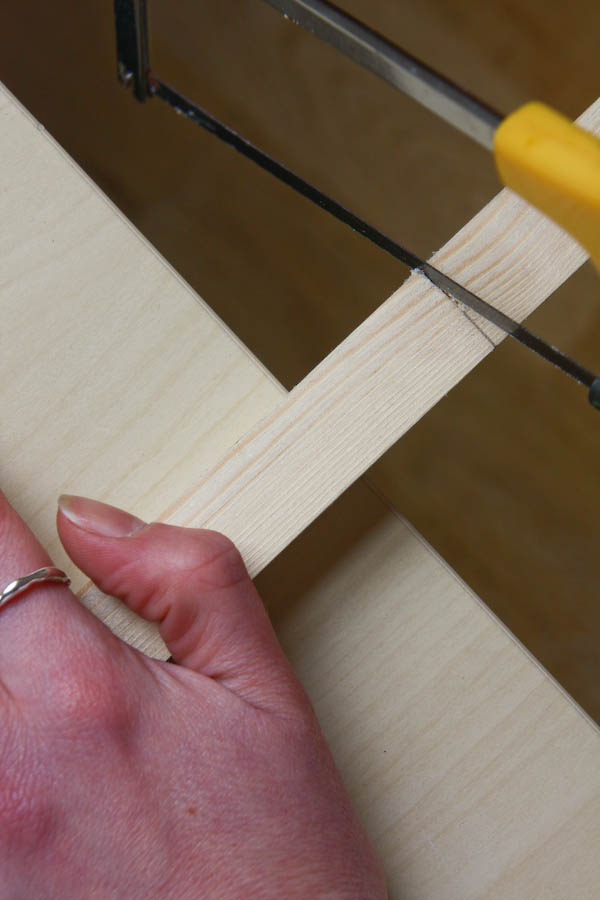
2.Then take the 6.5cm x 1.5cm piece, and cut off a 10cm section for the base.
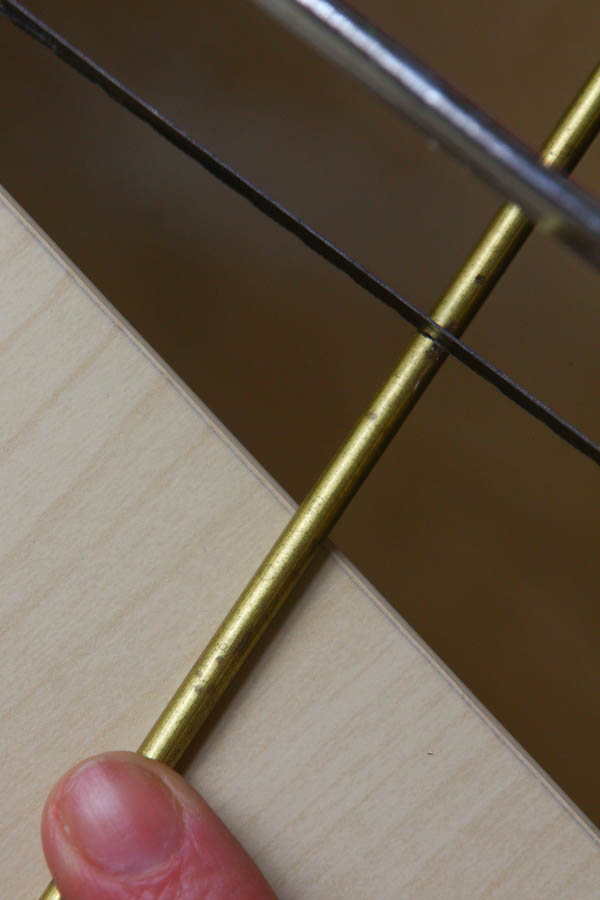
3.Now for the brass rod. Cut two pieces; one 2ocm long and the other 25cm long. I just used a hacksaw blade meant for metal to cut the brass, this will also cut the wood just fine. Go slowly though, as it can take a few passes for the teeth of the blade to start cutting into the metal.
4.You should now have all of your pieces cut out!
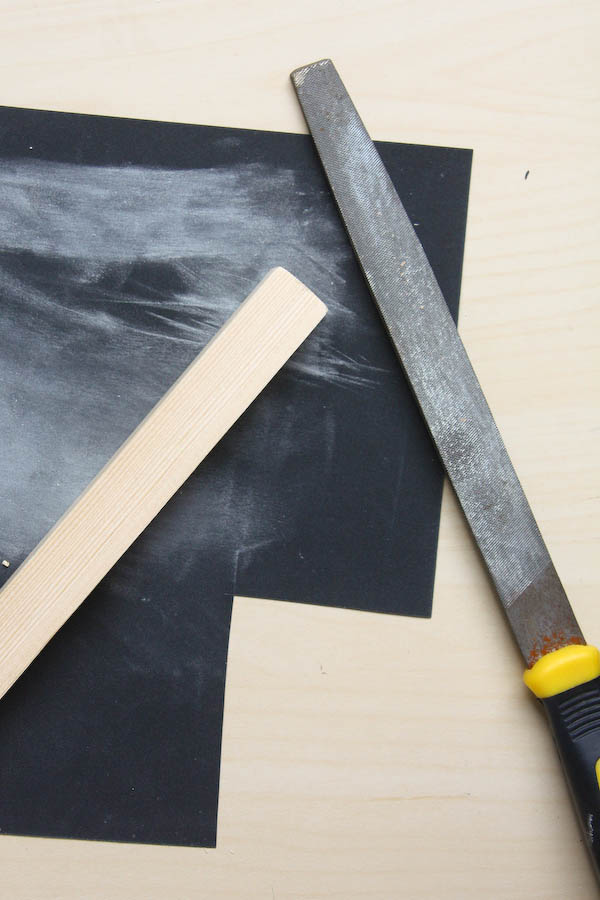
5.Smooth the ends of all your pieces with sandpaper. If the edges are not quite level you might need to use a metal file to remove the extra material.
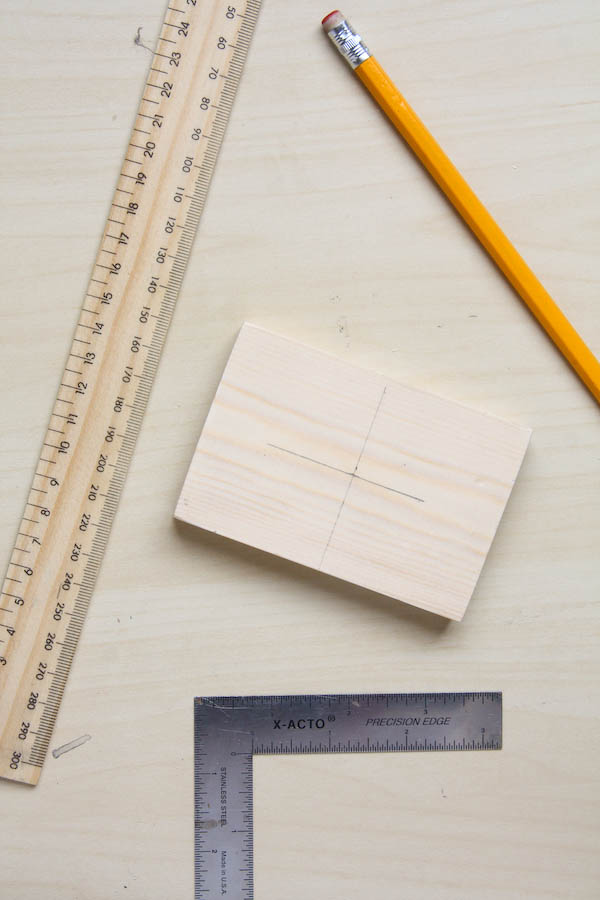
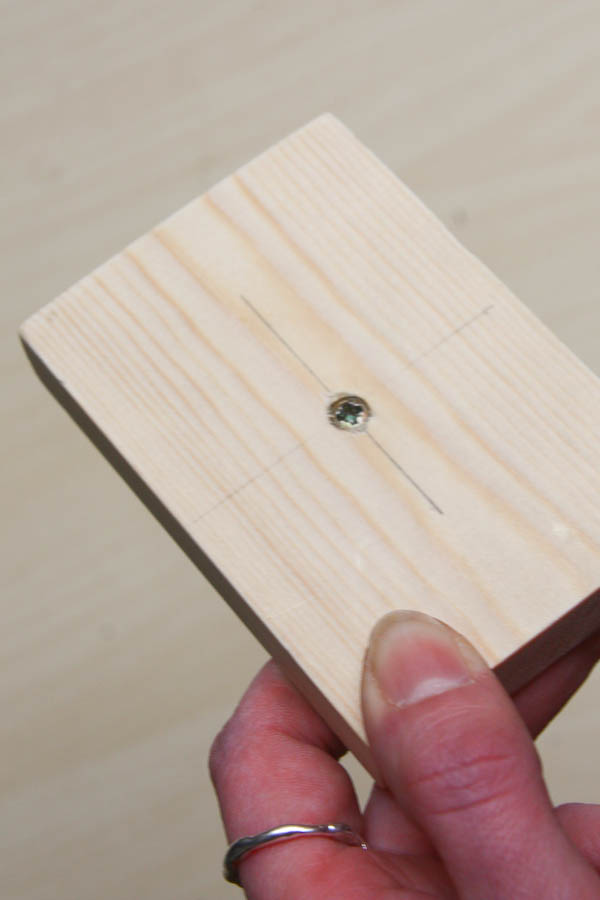
6.Lets start to contruct our jewellery holder! Mark the middle of your base. a t-square or similar is helpful, but careful measuring with a ruler will do! Then drill a hole using a drill bit the same width as your screw. To make the base sit flat, use a larger drill bit (the same width as the head of your screw) to create a slightly wider opening called a countersink.
7.Now you can screw the base into the main upright.
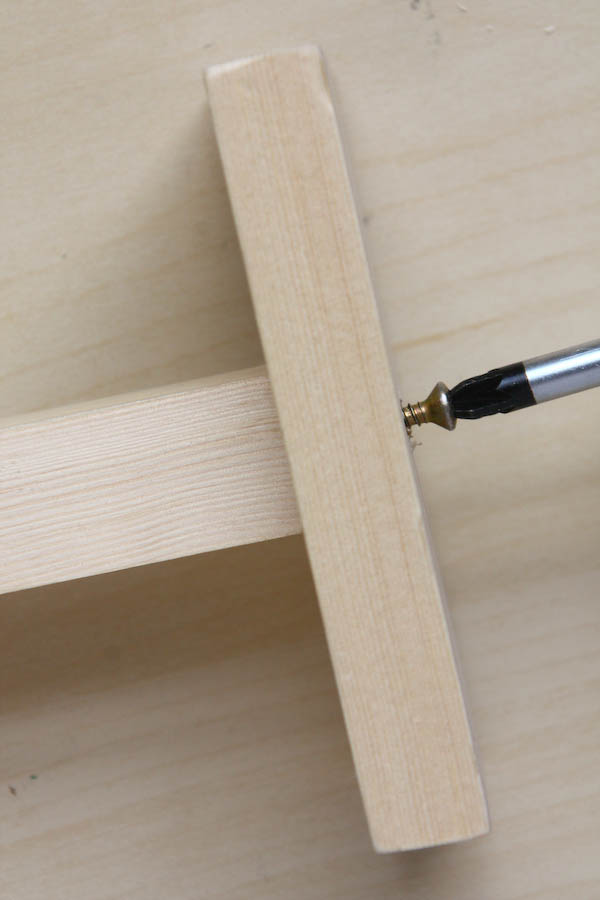
8.See how the screw sits into the wood because of the countersink?
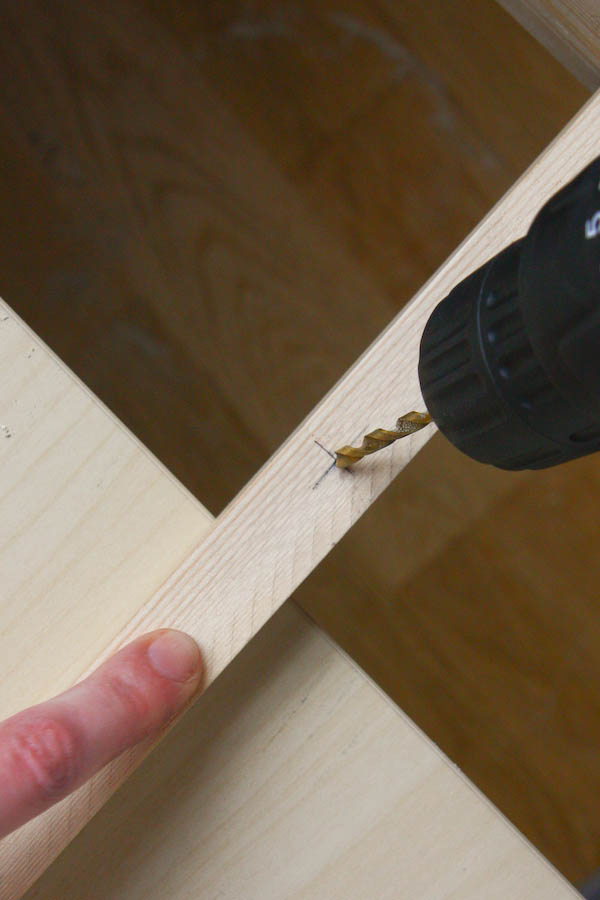
9.Now mark out where you want the brass rods to be- my top one is about 28cm from the base going sideways through and the lower rod, going front to back, about 12cm. Put a 4mm bit, so exactly the same width as the rod, into your drill and make the holes. I found it really tricky to get the holes straight!
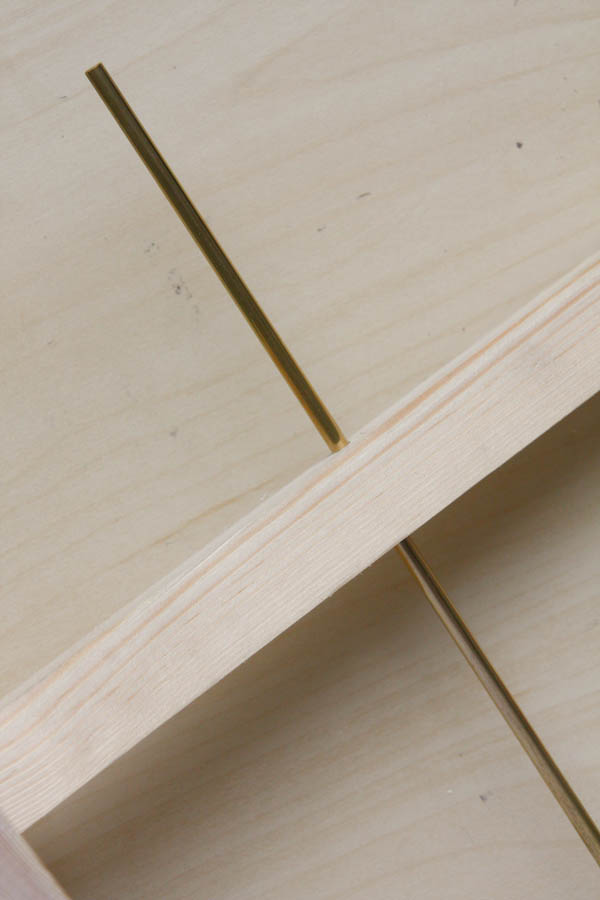
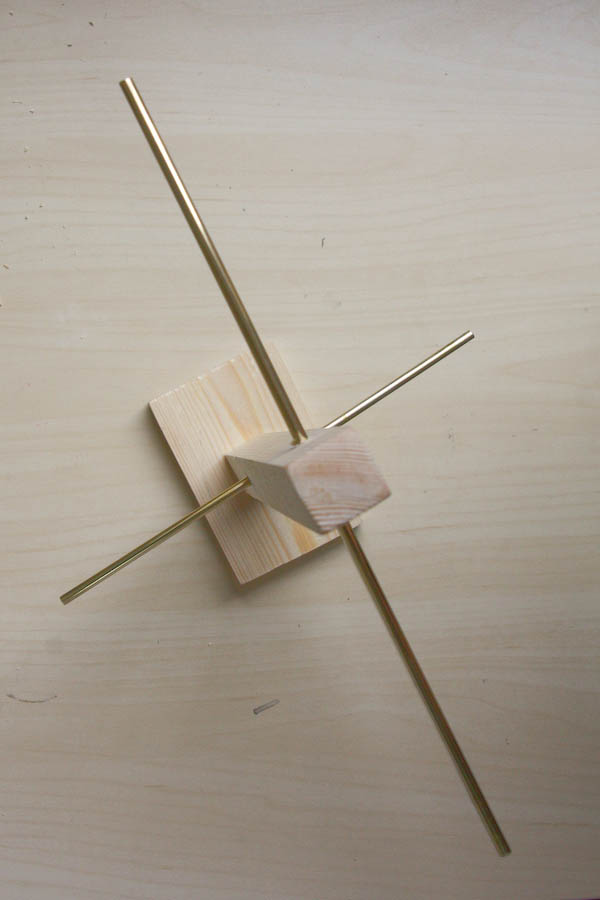
10.Push in the rods, and if you used the same size drill bit as the rod, no glue is needed to hold them in place!

If you have a go at making your own Jewellery Holder DIY, or have any questions feel free to comment below or message me on Twitter, Instagram or Facebook! And if you don’t want to miss out on any future tutorials, I’d love for you to sign up to my monthly email! Happy Making!